
Last updated November 18, 2026
 Hardwood
 Engineered hardwood
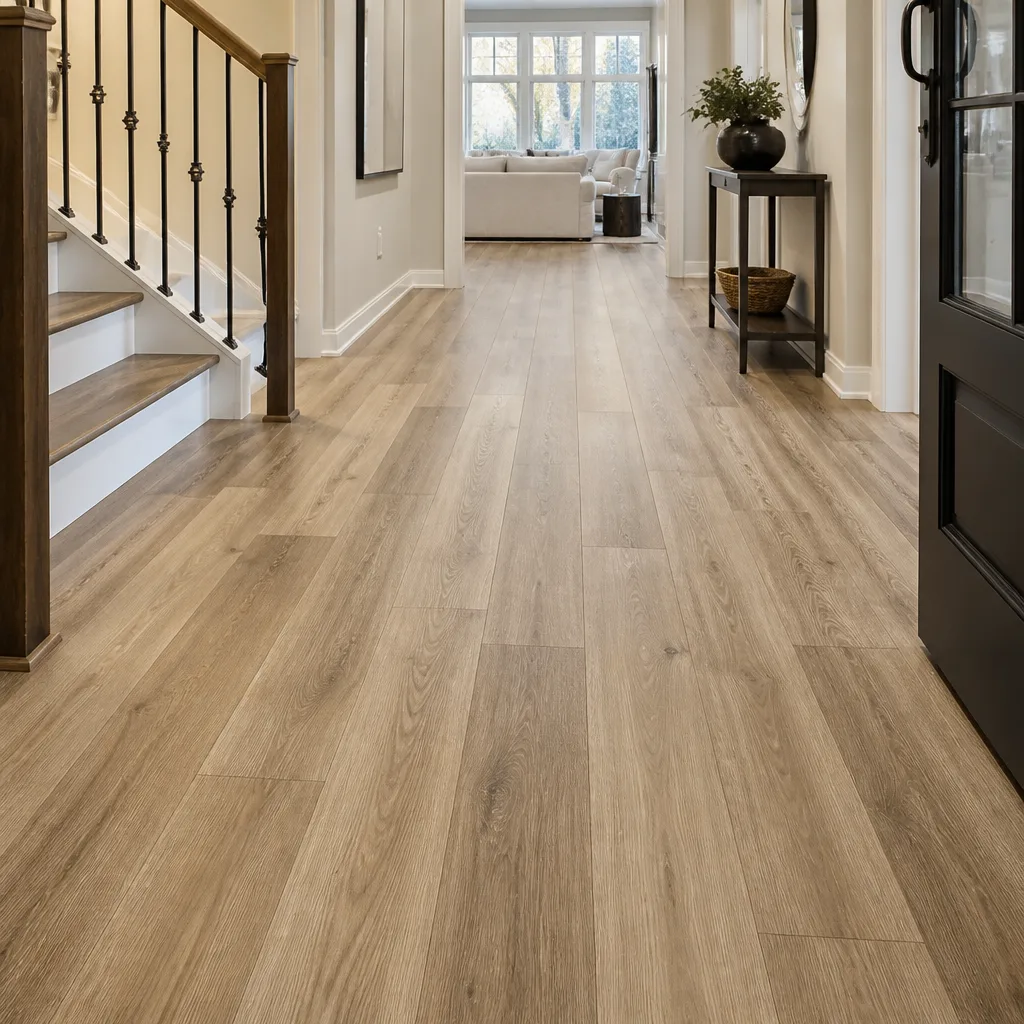 Luxury vinyl plank
 Laminate
 Porcelain tile
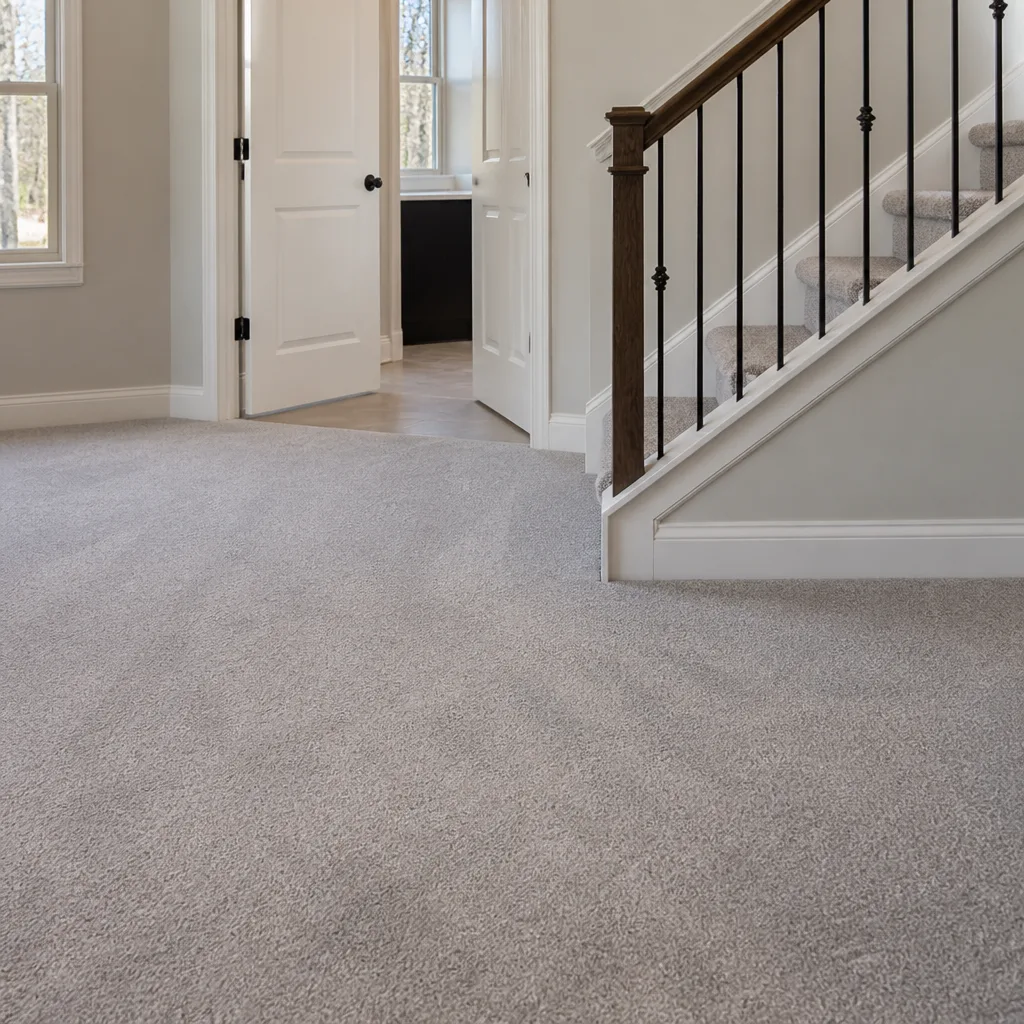 Carpet
 Shaw
 Mohawk
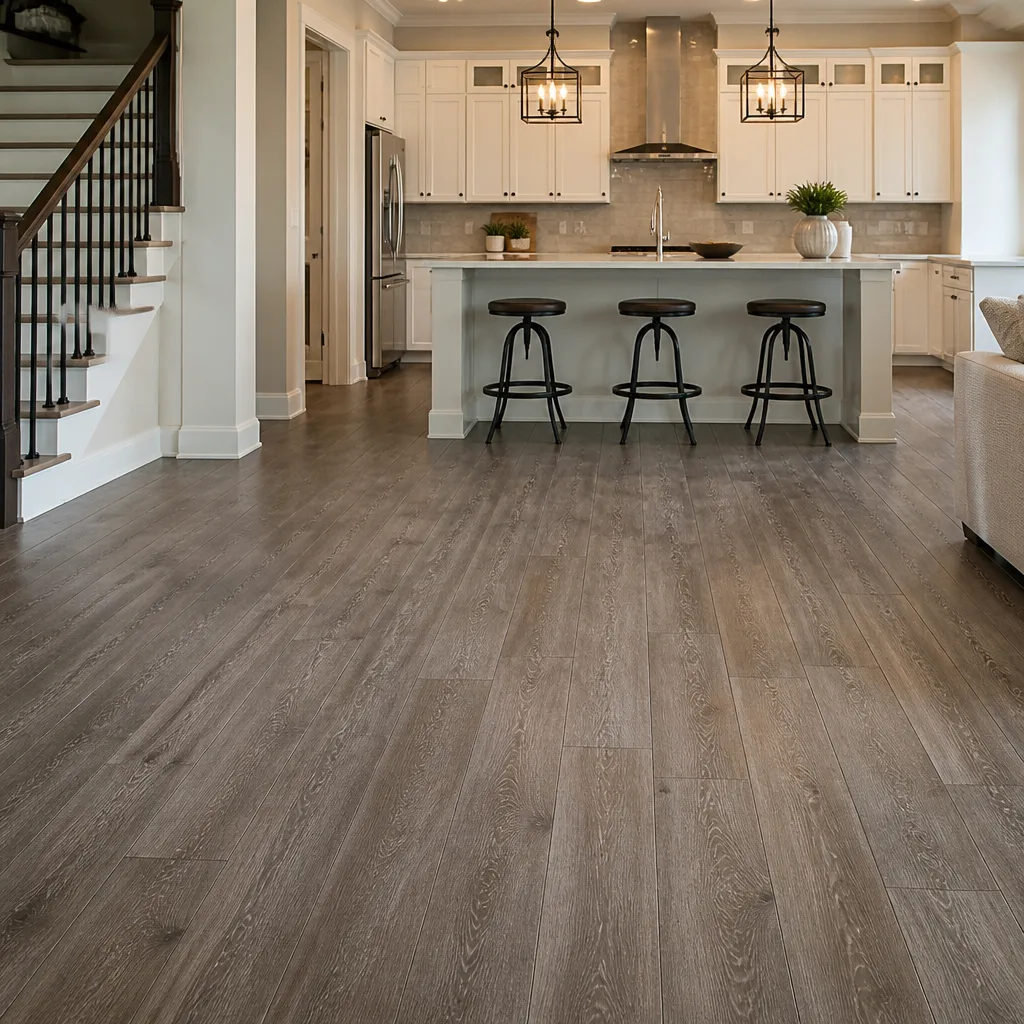 COREtec
 Pergo
Free in-home measure and written estimate: Shaw, Mohawk, COREtec and Pergo lines compared on your own rooms, with carpet, tile, vinyl plank, laminate and hardwood laid out side by side
Get your free estimateHow to Prepare Your Home for a Flooring Installation in Enterprise
The installation itself is the easy part to picture. The preparation is what homeowners underestimate. Most of the problems we see on installation day in Enterprise, and most of the added labor time, trace back to things that could have been handled before the crew arrived: a room that wasn’t fully cleared, a subfloor issue nobody flagged, a homeowner who wasn’t told what to expect.
This guide walks through preparation room by room and step by step, with notes specific to Enterprise’s desert climate and how it affects sensitive materials like hardwood. By the end you’ll know what to clear, what to keep in place, who handles what, and how to protect your new floor in its first critical days.
Quick Answer
To prepare for a flooring installation in Enterprise, clear the room completely (furniture, area rugs, closet contents, wall hangings), remove or plan for the baseboards if the flooring will meet the wall, disconnect appliances in kitchens and laundry rooms, and check the subfloor for soft, uneven, or stained areas before the crew arrives. Homeowners are responsible for moving belongings and furniture; installers are responsible for the floor, trim, and installation itself. Schedule any needed utility disconnections and have a plan for pets and kids during adhesive curing and the first 24 hours after installation.
Styles & brands we work with
- Hardwood
- Engineered hardwood
- Luxury vinyl plank
- Laminate
- Porcelain tile
- Carpet
- Shaw
- Mohawk
- COREtec
- Pergo
Table of Contents
- The Complete Room-Clearing Checklist
- What’s Yours to Move and What’s Ours to Handle
- Material Acclimation in Enterprise’s Dry Climate
- How to Spot Subfloor Issues Before Installation Day
- Pets, Kids, and Adhesive Cure Safety
- Window and Door Protocols After the Install
- A Walk-Through of the Preparation Timeline
- Common Mistakes to Avoid
The Complete Room-Clearing Checklist
Clearing the room is where the real time savings happen. This is the step most homeowners mean when they say they’ve “moved the furniture,” but a true clear-out goes further. Installers need open, unobstructed floor access and safe walking paths to and from the work area. Anything still in the room either gets moved, gets tripped over, or gets damaged.
Here’s the checklist we walk customers through before every installation in Enterprise:
- Furniture and area rugs. Move everything out, including small items, lamps, planters, and baskets. Don’t leave anything on the floor beyond the crew’s path.
- Closet contents. Empty closets, pantries, linen cupboards, or built-ins that sit in the work area. Shelves can usually stay, contents cannot.
- Wall hangings and fragile decor. Remove pictures, shelves, mirrors, and anything hung on the walls. Vibration from demolition and heavy tool traffic is real.
- Baseboards. Ask at the estimate whether baseboards will be removed or left. If the flooring is meeting the wall, baseboard removal and later reinstallation is usually necessary.
- Appliances. Refrigerators, washers, dryers, ovens, and built-in dishwashers need to be disconnected (and moved, where possible) if they will be sitting on or blocking the work area.
- Toilets (tile jobs). A tile floor installation in a bathroom requires pulling the toilet and reinstalling it after. Coordinate this with the estimate visit so it’s on the schedule.
- Door hardware and thresholds. Remove or loosen hanging doors so they can be rehung after the new floor height is set.
- Pets and children. Move them to a safe zone before the crew arrives. We cover the details below, but the short version: keep them clear of the work area all day.
The empty room is faster to install in, safer to work in, and less expensive than one that needs clearing on the day. A homeowner working through this checklist in Enterprise saves labor time on their own job.
What’s Yours to Move and What’s Ours to Handle
The clearest source of confusion before a flooring installation in Enterprise is who does what. Homeowners picture installers rolling in, moving the sectional, and taking care of everything. Professional crews focus on the floor. Personal belongings, furniture, valuables, and anything with a power cord belong to the homeowner’s side of the job.
Here’s how we frame it at the estimate:
- Yours: furniture and personal belongings, wall hangings, closet contents, disconnecting appliances and electronics, moving pets and children off-site, securing valuables, and paying for any third-party movers or appliance disconnects.
- Ours: protecting doorways and non-work surfaces, removing old flooring where it’s part of the scope, prepping the subfloor, installing the new floor, handling trim and transitions, and cleaning up install debris.
- Shared or split: baseboard removal and reinstallation, appliance disconnects, and utility-pulling for tile jobs like toilets and vanities. Ask on the estimate which side of the line each item lands.
Movers and installers do different jobs. A moving company will happily move your sofa across town; a flooring crew will not, and it’s not their area of expertise. If you’re tackling a whole-home project in Enterprise, we’re used to working alongside a moving crew the same week as the installation to keep the house livable. The floor belongs to the crew, the furniture belongs to you or your movers.
Hire a moving crew you trust, and communicate the installation date to them early so both crews aren’t scheduled the same day. As a single specialist for your entire home’s flooring, we can coordinate the sequence of a carpet installation and a tile project back-to-back so furnishings move once.
Material Acclimation in Enterprise’s Dry Climate
Enterprise sits in the Mojave Desert, and the dry climate changes how materials behave on arrival. Wood-based flooring (hardwood, laminate, and some engineered products) absorbs and releases moisture from the air, and a desert home runs much drier than the manufacturing and shipping environment. That means the standard acclimation period from a manufacturer’s installation guide is a starting point, not the final number.
Acclimation is the process of letting the material sit in the room where it will be installed, in the packaging recommended by the product instructions, until it reaches moisture equilibrium with the room. Get this wrong and the floor can gap, cup, or shrink after installation. Get it right and the floor behaves for years.
Two things matter most for acclimation in Enterprise:
- Room conditions match installation conditions. HVAC running normally (or off, if that’s how you live), no temporary space heaters, no fans blasting the room, and the room unoccupied by construction traffic.
- Ask for the manufacturer’s specific instructions for your product. Different products want different acclimation. The number of days lives in the product instructions and in the written estimate, not in a general rule of thumb.
Tight, very dry housing is common in this part of the valley. If your home runs extra dry in winter, mention it on the estimate visit. We can flag it to the installers so the schedule accounts for it. Brands like Armstrong and Mannington publish product-specific acclimation guidance, and it’s what we follow.
The point for the homeowner is simple: your floor wants time to settle. Don’t schedule the installation the same week the boxes arrive.
How to Spot Subfloor Issues Before Installation Day
The subfloor is where a flooring installation’s hidden work lives. Soft spots, squeeks, uneven planes, evidence of past water, and old adhesive ridges all matter. If they surface on installation day, the crew has to stop, and that pause becomes a scope change, a schedule slip, or an extra charge. If they surface during the estimate walk, they’re handled up front and the price you get is the price you pay for that work.
Here’s what a homeowner can look at before installation day, without pulling up flooring:
- Walk the room in bare feet. Feel for dips, rises, or bounce. Any spot that flexes underfoot is worth flagging.
- Look at the base of the walls and under appliances. Discoloration, warped baseboard, or a musty smell can indicate past moisture.
- List the squeeks. Squeeky floors aren’t just annoying; they often mark a subfloor that wants attention before a new floor goes down.
- Take photos of anything you’re unsure about. A photo of a soft spot at the estimate visit is faster than describing it on installation day.
- Note any existing cracks or tile delamination. Old tile coming up can hide a subfloor that needs work.
We walk every estimate in Enterprise with subfloor condition in mind, and the written estimate sets the scope so the price you agree to covers what the crew will actually find. This is one of the areas where Floors Enterprise exists to help: our technicians have up to 9 years of experience and know what a compromised subfloor looks like on the walk-through, not on installation day. If the pre-existing floor is worth saving rather than covering, we also offer refinishing; that’s the Floors Enterprise approach of restore before you replace.
Pets, Kids, and Adhesive Cure Safety
Pets and kids are a comfort concern and a safety concern during a flooring installation in Enterprise. The safety piece is adhesive. Some flooring installations use adhesive under carpet, tile, or sheet goods; carpet installations often use tack strips or adhesive depending on the product. Adhesives have a cure period, and during that period the room should be kept clear. Product instructions set the cure time and any venting guidance; follow them.
Practical steps for households with pets and young kids:
- Arrange a pet sitter or boarding for installation day. Open doors, tools, and adhesive all create risks for pets. Board them or send them to a neighbor the same day.
- Set up a containment plan for kids. A playdate, grandparent visit, or a barrier across the hallway works. Kids are curious about tools and demolition noise.
- Close off the work area if you can’t leave. A doorway barrier stops wandering. It also keeps the dust from spreading into the rest of the home.
- Keep the room clear through the cure period. Even after the crew leaves, give the adhesive time to set. Ask on your estimate how long that is for your specific product.
We’re not doctors, and we don’t make health claims about adhesives or dust; the product labels and the written instructions carry that guidance. What we can tell you is that a house with pets and children needs prep in advance, not on installation morning.
Window and Door Protocols After the Install
The first 24 hours after a flooring installation matter, and in Enterprise, the desert climate is the reason. Summer daytime highs push well over 100°F and nights drop fast. Opening windows to “air out the room” during an extreme swing can stress new material, especially wood-based flooring that’s been acclimated to your home’s conditions.
Here’s what we recommend during the first 24 hours:
- Keep windows closed. Door drafts are fine for ventilation, but skip the wide-open-windows drying trick in extreme heat or cold. The new floor wants a stable indoor environment, not outdoor air.
- Run the HVAC normally. Don’t add extra heat or extra fans. Do not shut off the HVAC in a room with new flooring during extreme weather.
- Keep heavy furniture off the new floor. Give the floor and any adhesive time to settle before placing furniture back. Ask on your estimate how long. Typically this is at least a day, sometimes longer for glued products.
- Delay the big move-back. Felt pads on furniture feet and careful lifting go a long way. Slide slowly rather than drag across the new floor.
- Wait to rehang doors, install baseboards, or reattach thresholds until the install is confirmed complete and settled.
These are the protocols we remind every Enterprise customer about on their way out. They’re simple, and they make the difference between a floor that lays flat for years and one that shows its first gaps in the first month.
A Walk-Through of the Preparation Timeline
Good preparation happens in a sequence. Here’s how we recommend Enterprise homeowners work through it, starting at the estimate and ending the day after installation.
- At the estimate visit. Walk the space with us. Point out everything from the subfloor notes to nose-sensitive spots to the pets. Note the product, the brand, and which items in the room belong to you.
- The week of the scheduled install. Clear the room. Move furniture and belongings. Confirm movers are scheduled alongside (not on top of) installers.
- Two days before. Disconnect appliances. If it’s a bathroom tile job, plan for the toilet pull. Set up the pet plan. Have the kids’ alternates ready.
- One day before. Walk the space one more time. Confirm the work area is clear, the doorways are passable, and the parking is workable for the crew’s vehicle.
- Installation day. Be reachable by phone. Keep pets and children out of the work area. Don’t try to move anything in or out during the install.
- First 24 hours after. Windows closed, HVAC normal, furniture off the floor if the product instructions say so.
- Move-back day. Felt pads, careful lifting, then baseboards and door rehang as needed.
Enterprise is a big enough valley that scheduling works well when homeowners plan in advance. If you’re in Enterprise, we’re the local specialist team and we plan the schedule with you at the estimate.
Common Mistakes to Avoid
- Leaving “just a few things” in the work area. Even a small amount of remaining furniture slows the crew. Every minute the crew spends moving things is a minute you’re paying for on-site.
- Skipping the subfloor walk-through. Soft spots, squeeks, and moisture stains go on the estimate, not on the day. Discovering them on installation day turns a fixed scope into a change order.
- Opening windows wide during the first 24 hours. In Enterprise’s desert climate, a wide window swing from afternoon heat to evening cool can stress freshly installed material. Keep windows closed, HVAC normal.
- Letting the family stay in the work area for “just a minute.” Adhesive, tools, dust, and open rooms are not kid- or pet-safe. Contain them for the day.
- Waiting to mention the dry winter indoor climate. If your home runs extra dry in the cooler months, mention it at the estimate. It affects acclimation timing and the schedule.
- Attempting to move appliances and toilets solo. A refrigerator dropped on new flooring or a leaking toilet valve after reinstall is costly. Handle utility disconnections and reconnections properly, or plan for a plumber.
- Putting heavy furniture back the same day. Give the new floor time to settle. Ask how long for your specific product, and plan a temporary holding zone for furniture.
See the difference
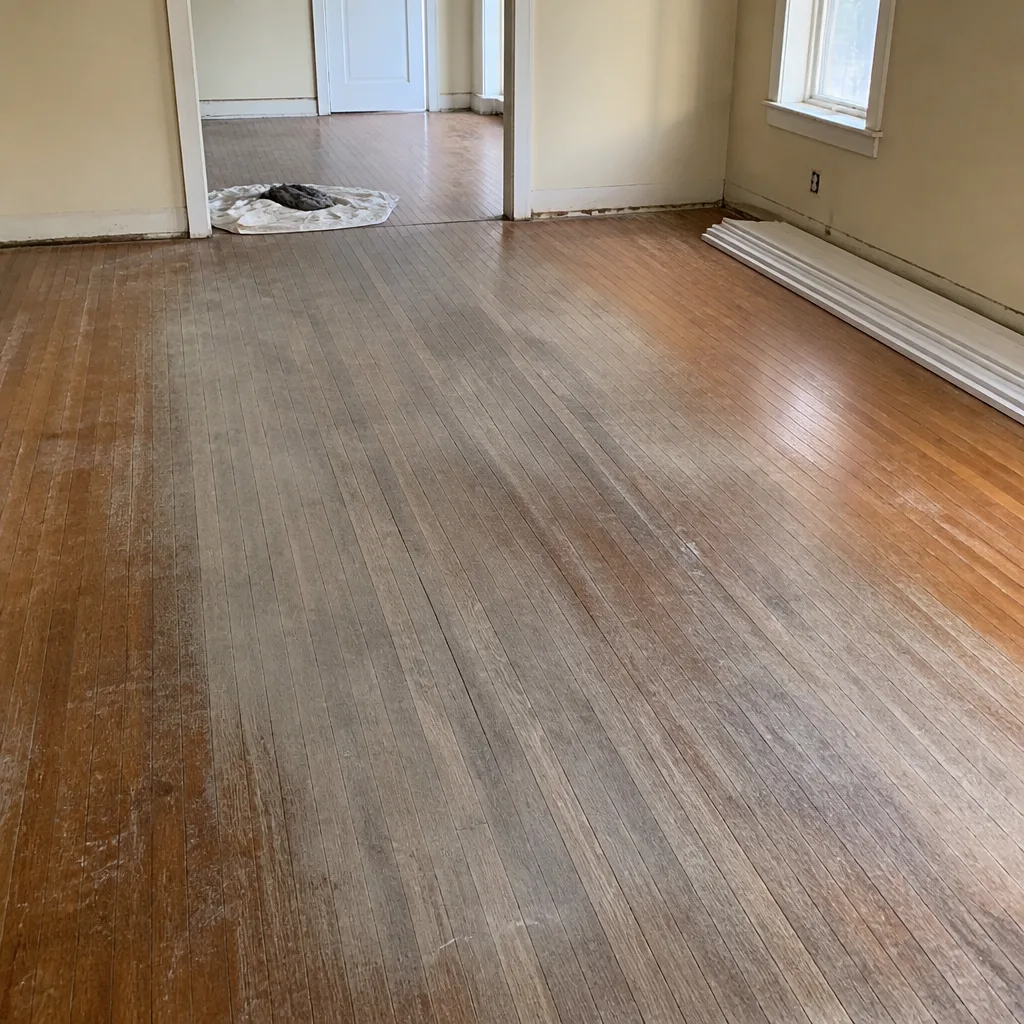 Before
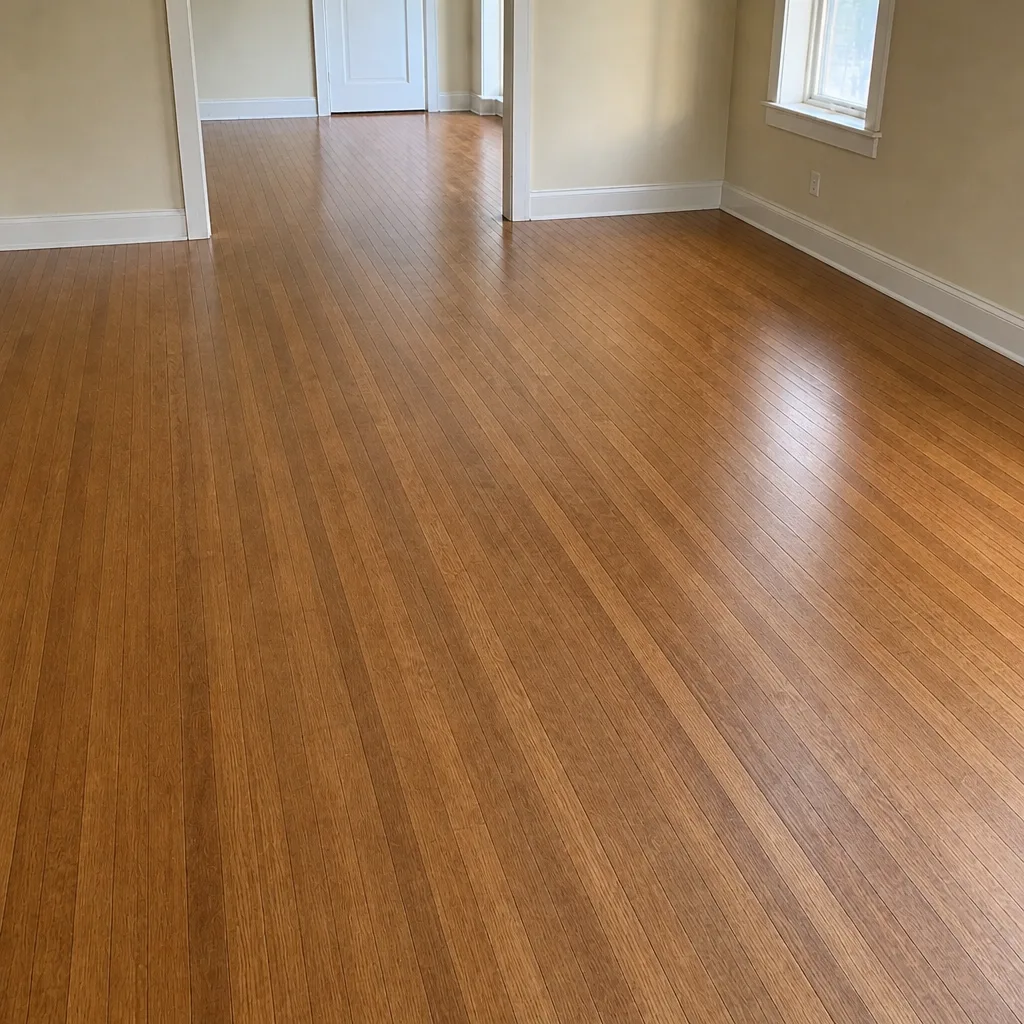 After
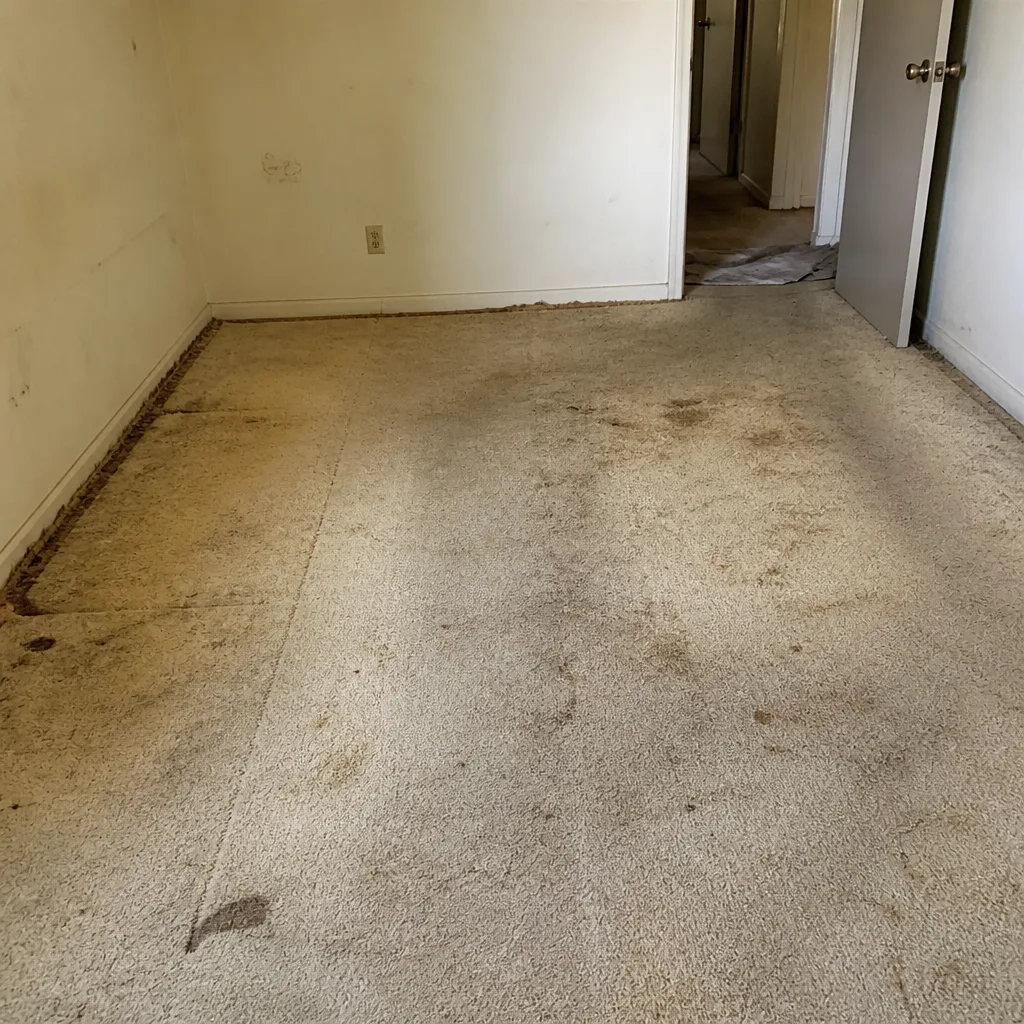 Before
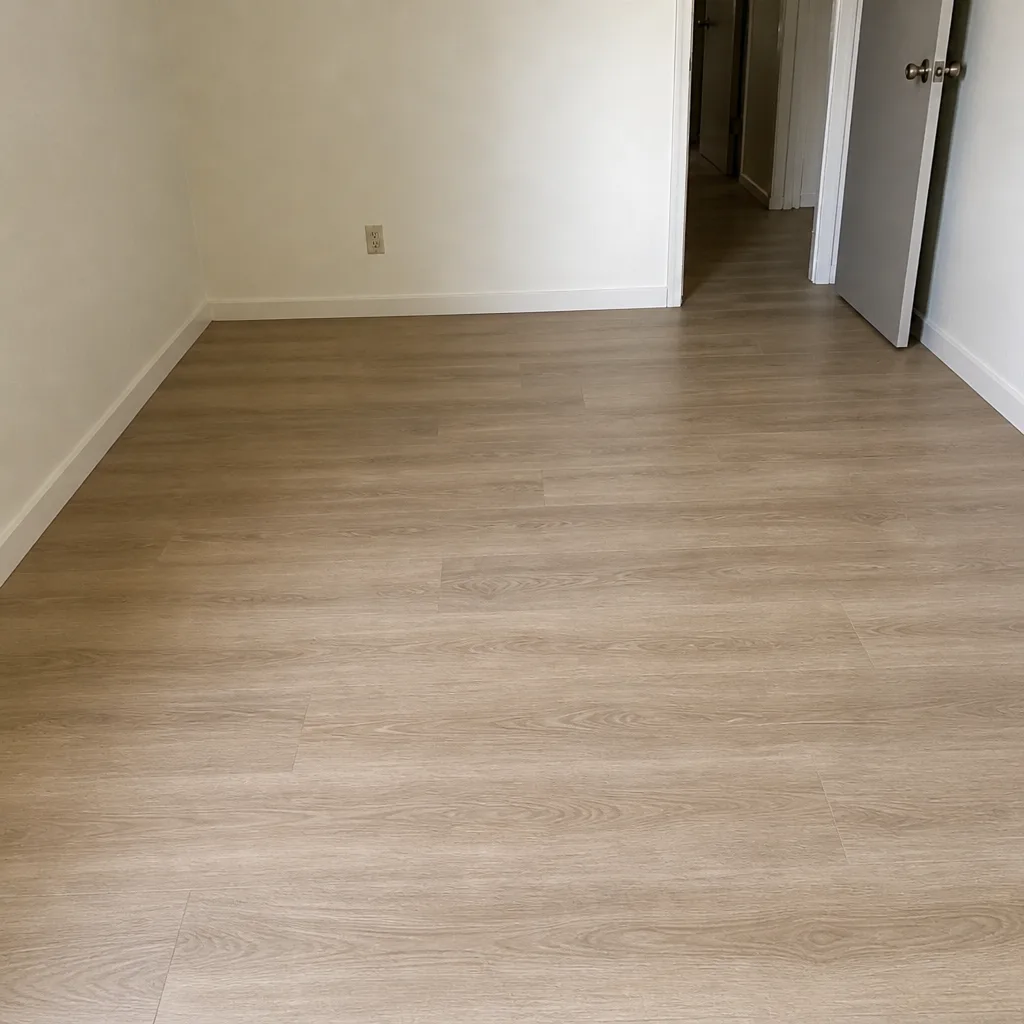 After
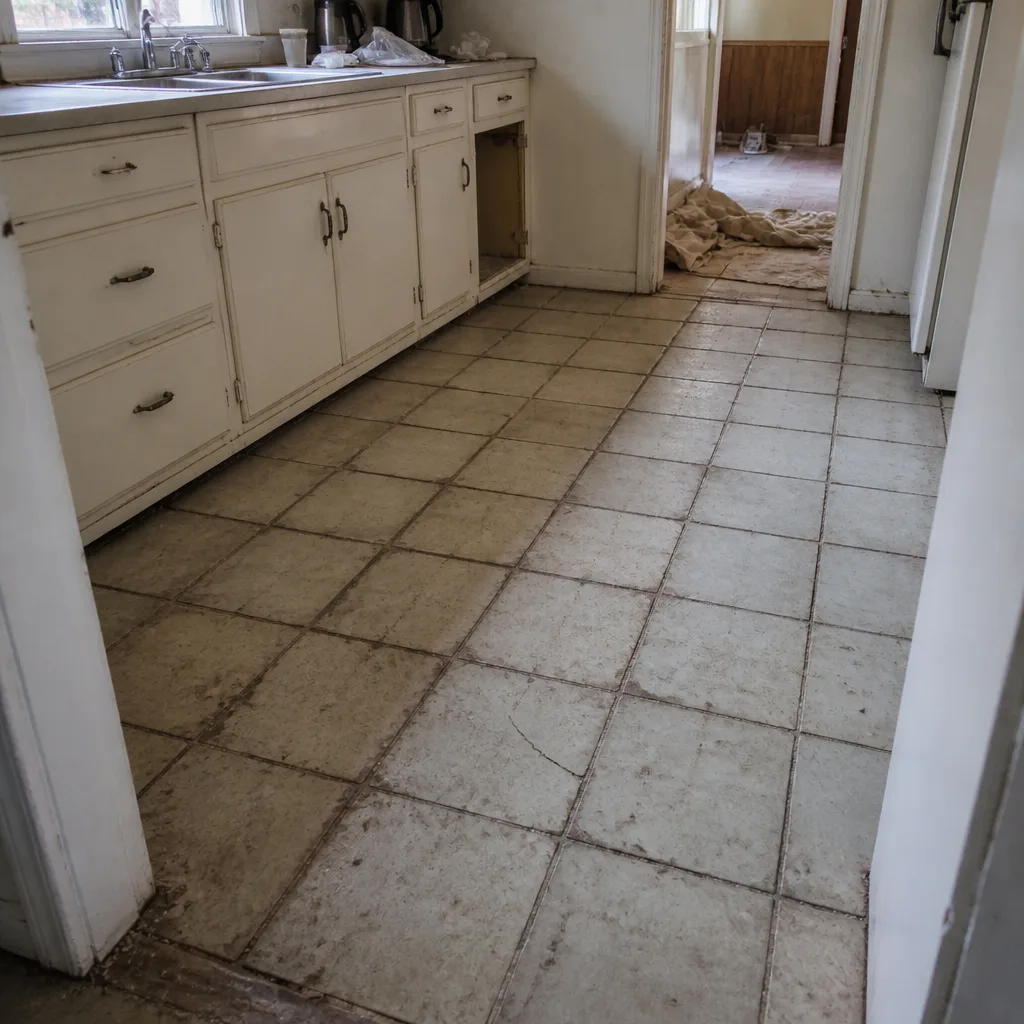 Before
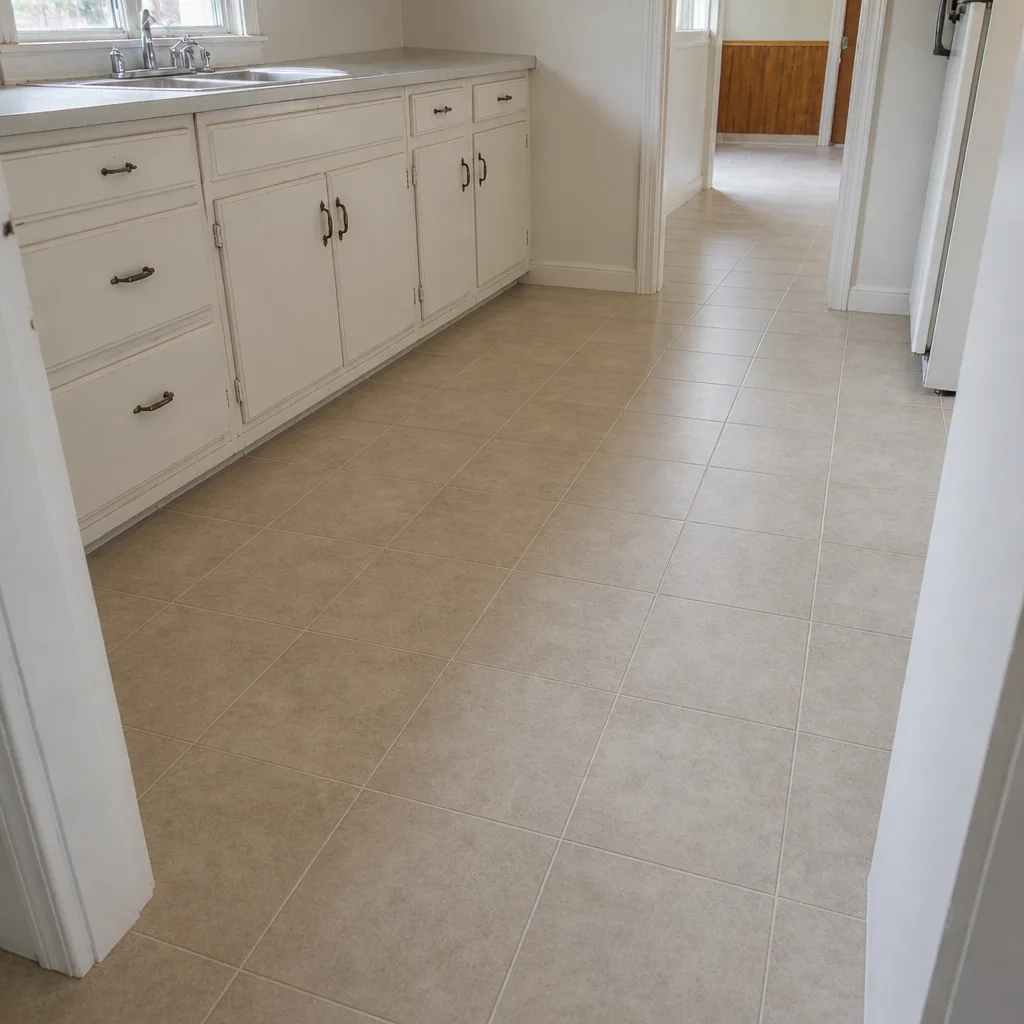 After
When to Call a Professional
Some jobs are homeowner-friendly; most flooring installations in Enterprise are not. A carpet installation stretches and tacks tightly, which is a craft skill. A tile flooring installation requires cutting, layout, substrate prep, and grout, and redoing a bad layout is expensive. Hardwood installation and refinishing involve moisture-sensitive material and fine sanding that most homeowners can’t replicate cleanly. Subfloor issues, appliance disconnects, and toilet pulls are all situations where a flooring pro or a plumber should be in the room.
If you’re unsure how to check your subfloor, unsure whether your old floor is worth refinishing, or don’t want to manage three brands across five stores, that’s the moment to bring in a specialist. Our technicians have up to 9 years of experience with carpet, tile, and hardwood, and we work with nine brands including LifeProof, Mannington, and Daltile so you can compare options under one roof.
Floors Enterprise offers free estimates in Enterprise. Call (844) 320-5894 to schedule yours.
Frequently Asked Questions
Homeowners are responsible for moving furniture, personal belongings, and everything with a cord. Installers protect and prep the floor itself, not your furnishings. If moving is too much, hire a local moving crew and coordinate the installation date with them.
Acclimation time depends on the specific product and is set by the manufacturer’s installation instructions, not a general rule. In Enterprise’s dry climate, the standard window is a starting point. Ask on the estimate visit for your specific product; the number lives in the written instructions and estimate.
Confirm this at the estimate visit. If the flooring will meet the wall, baseboards typically need to come off. The crew can often handle this as part of the job, but it’s important to agree on who does it before installation day so the scope is clear.
Yes, in most cases. Keep the work area closed off and pets and kids out of it for the day. Adhesive cure safety and floor protection both want the room empty. If the installation covers most of the home, a short stay elsewhere is easier for everyone.
The first 24 hours need stable indoor conditions. Enterprise’s desert swing from hot afternoons to cool nights can stress newly installed material, especially hardwood. Keep windows closed and HVAC normal, and follow the manufacturer’s guidance on ventilation.
Often, yes, and it’s a service most retailers won’t offer. Refinishing preserves the existing wood, saves the cost of replacement, and keeps material out of the landfill. Whether your floors can be refinished depends on the thickness of the wood and its condition, which we check at the estimate visit. Call (844) 320-5894 for a free estimate.
The Bottom Line
Preparation is the part of a flooring installation homeowners control, and it’s the part most under-explained. Clear the room completely. Walk the subfloor with us at the estimate. Follow the manufacturer’s acclimation instructions for your specific product, especially in Enterprise’s dry climate. Contain pets and kids during adhesive cure. Keep windows closed and HVAC normal during the first 24 hours. And plan for the move-back, not just the install day.
When the preparation is right, the installation is faster, cleaner, and closer to the price you agreed to. That’s how a good floor gets laid in Enterprise. Call (844) 320-5894 to schedule your free estimate.
Written by the team at Floors Enterprise.