
Last updated November 18, 2026
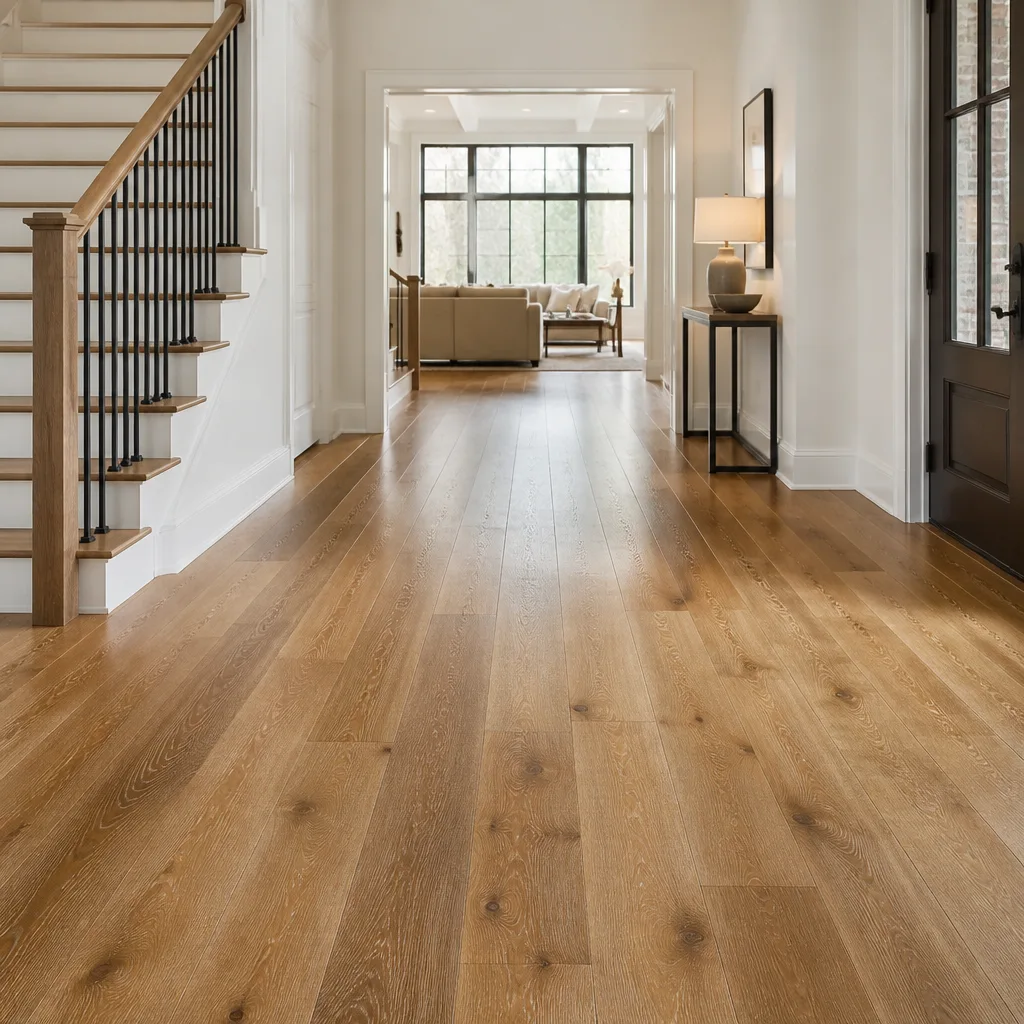 Hardwood
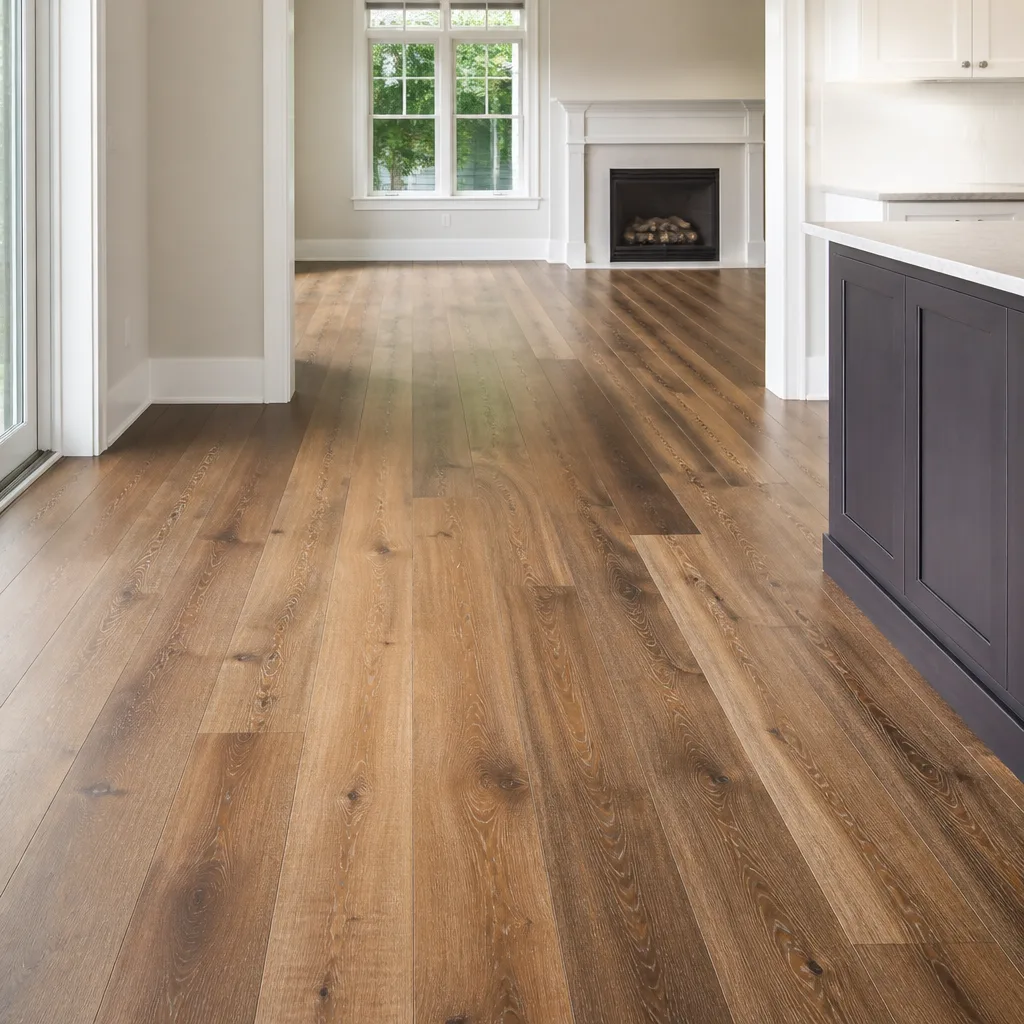 Engineered hardwood
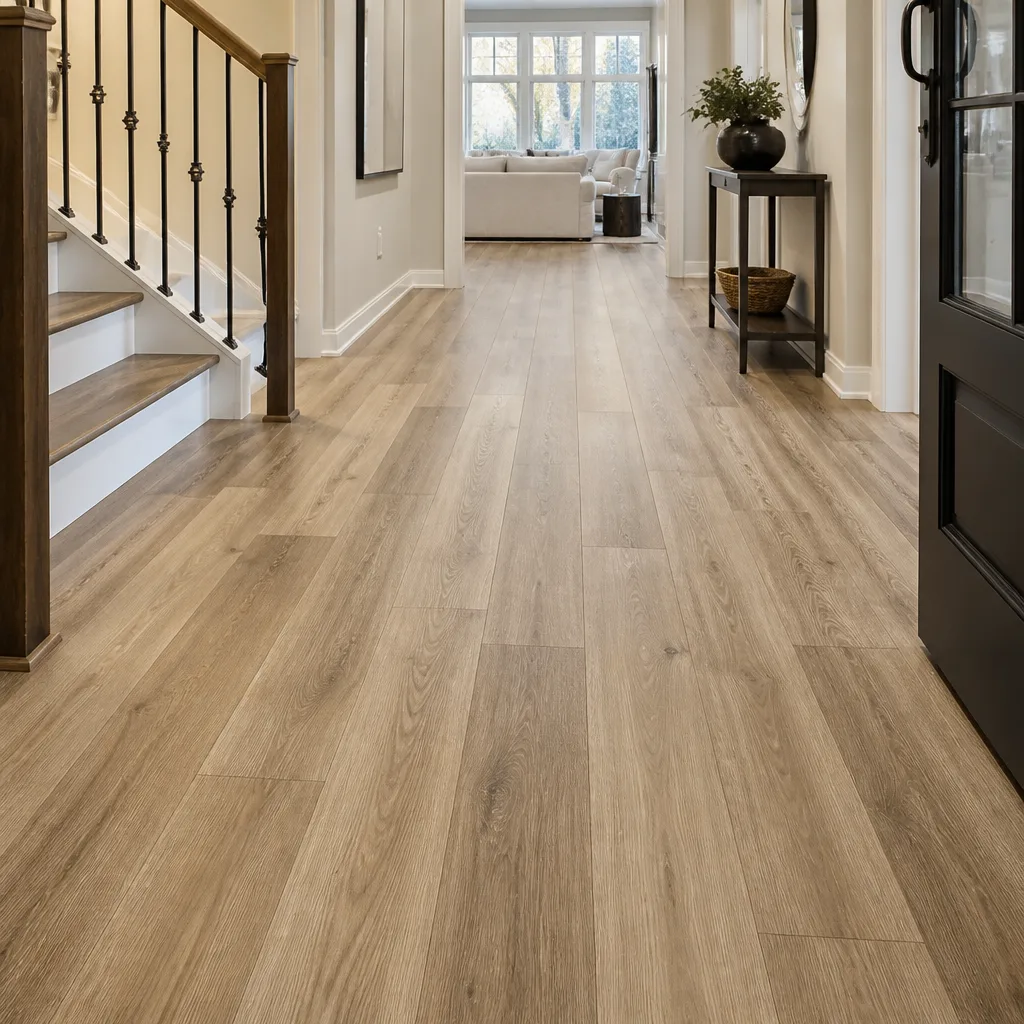 Luxury vinyl plank
 Laminate
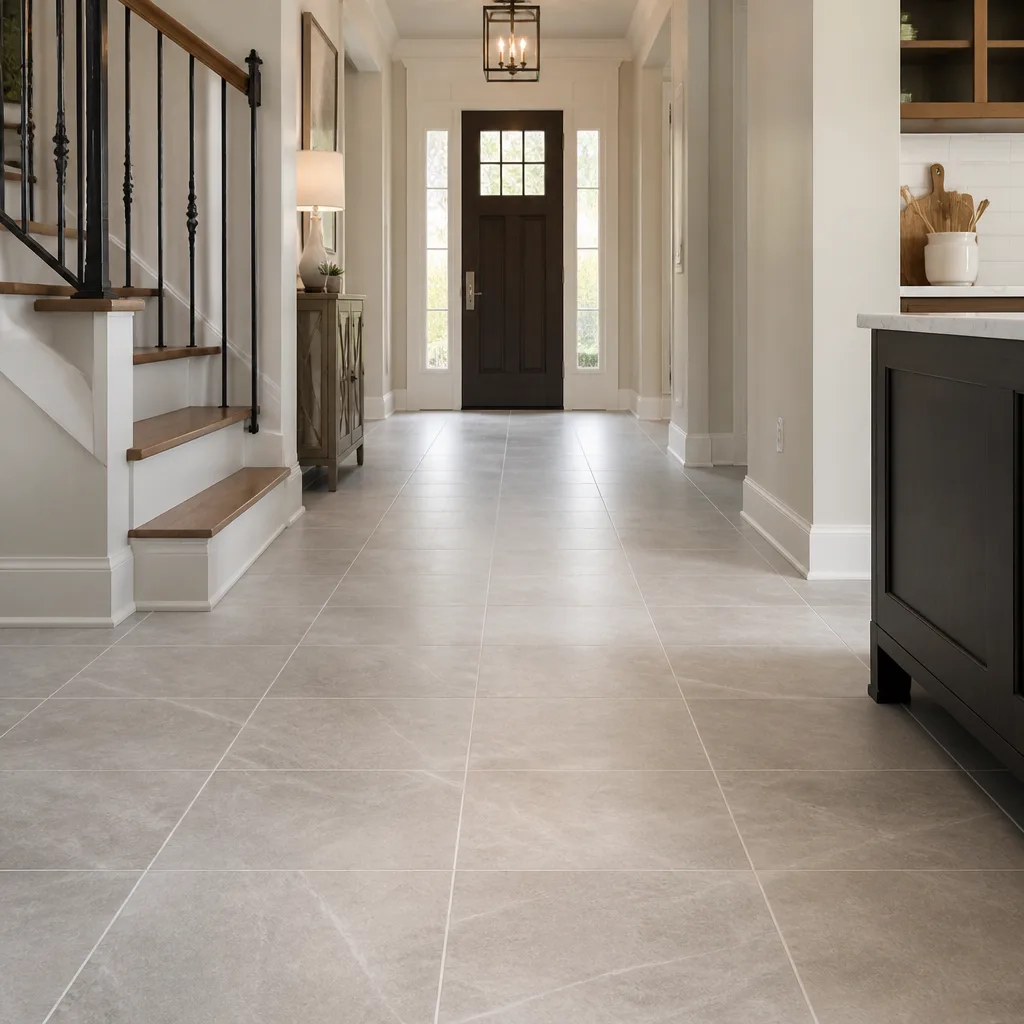 Porcelain tile
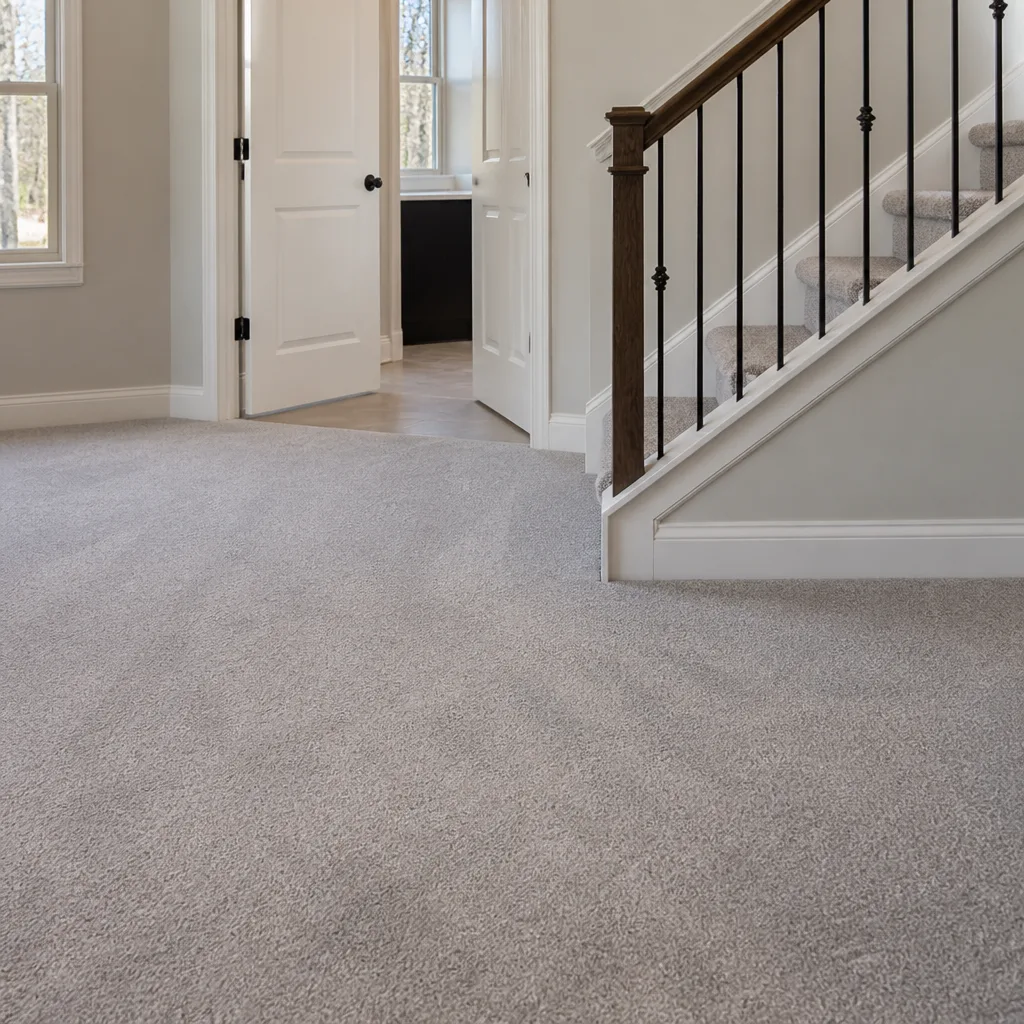 Carpet
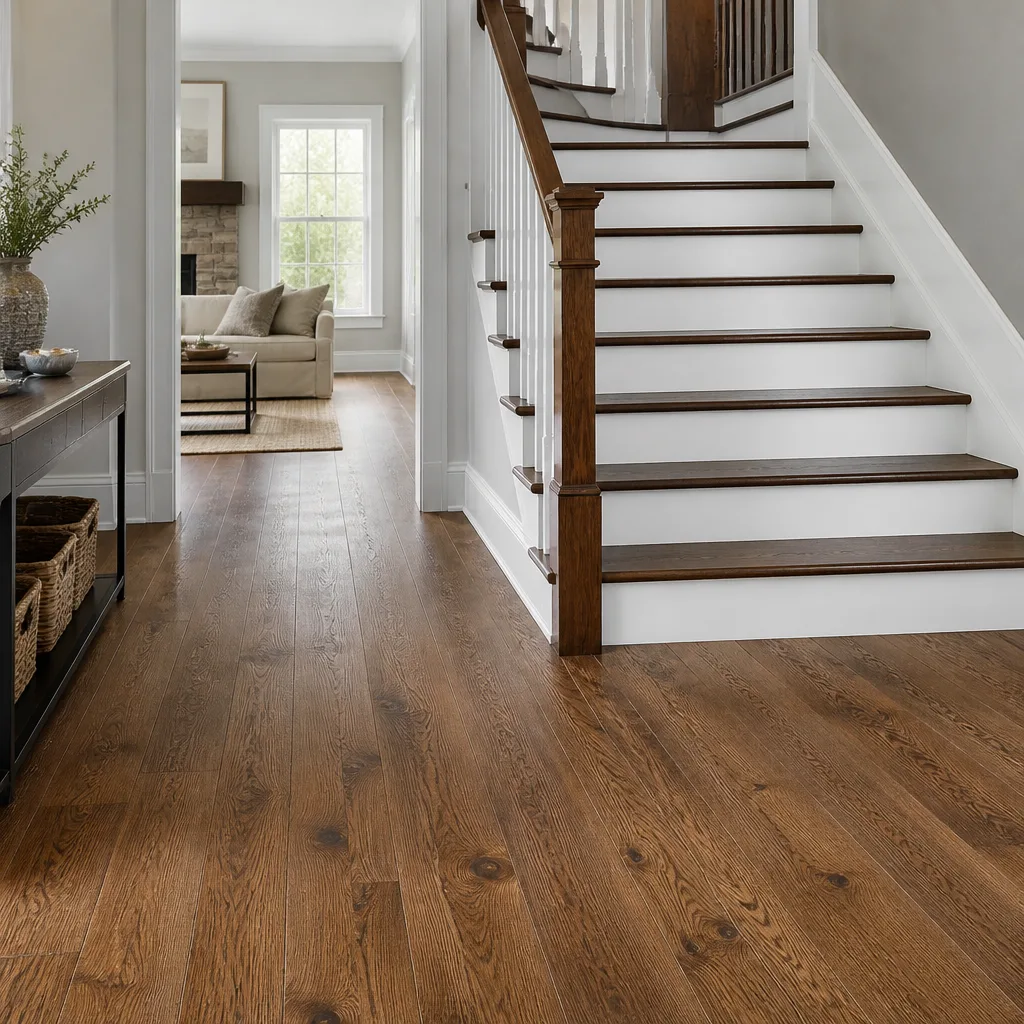 Shaw
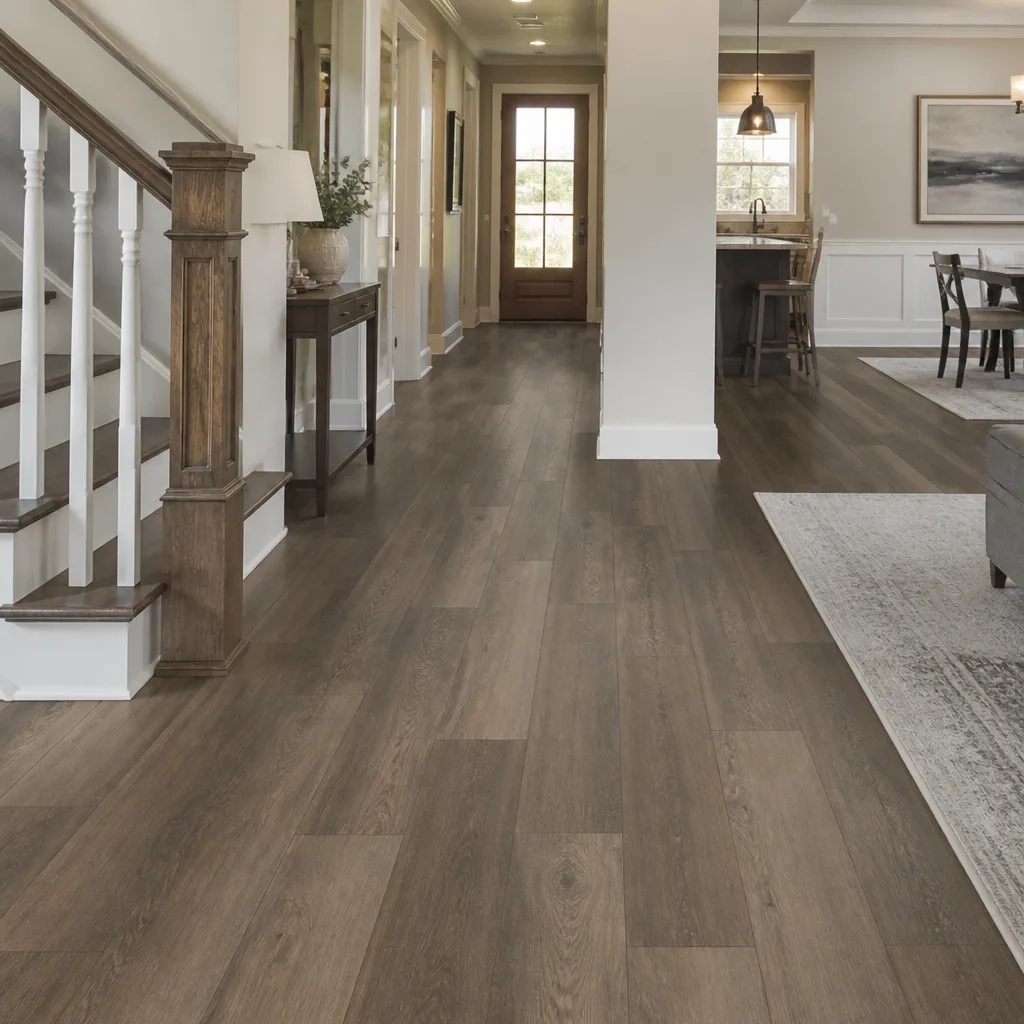 Mohawk
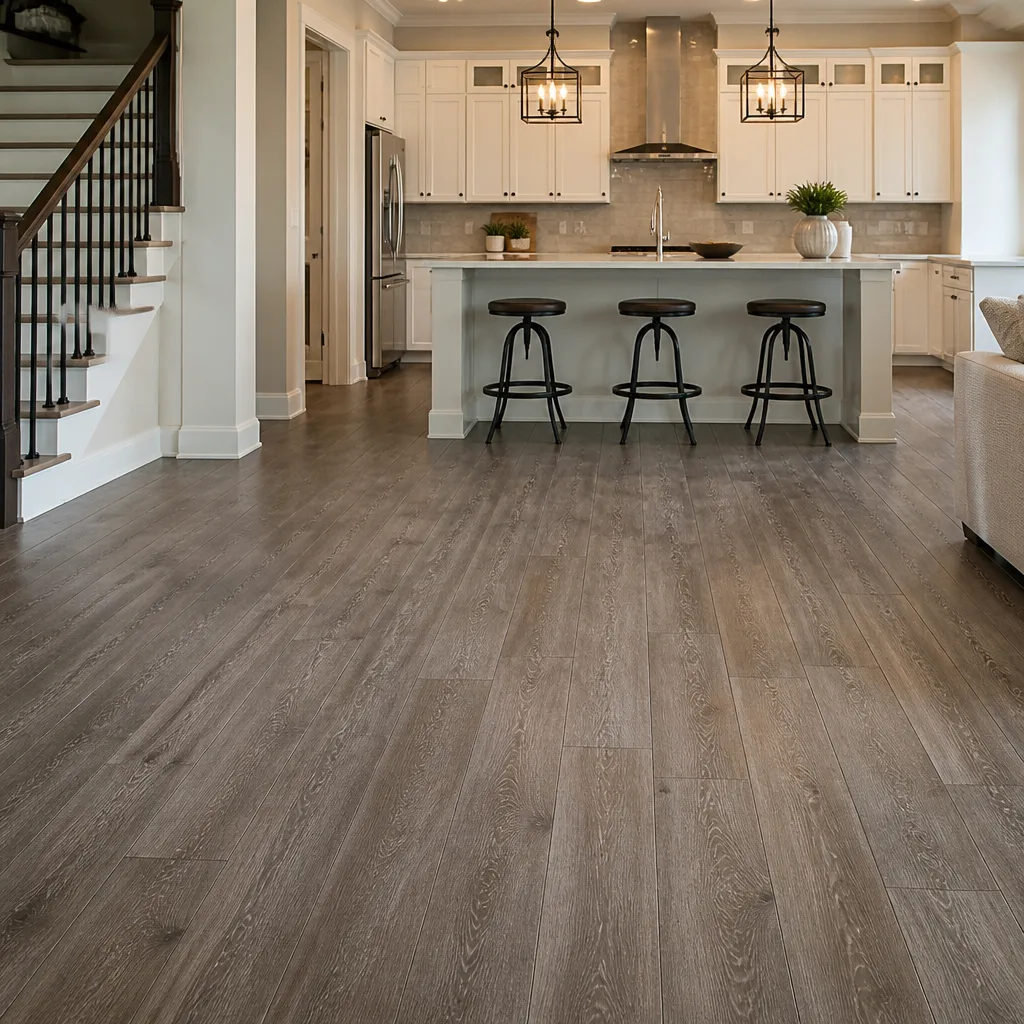 COREtec
 Pergo
Free in-home measure and written estimate: Shaw, Mohawk, COREtec and Pergo lines compared on your own rooms, with carpet, tile, vinyl plank, laminate and hardwood laid out side by side
Get your free estimateSubfloors Explained: What Sits Under Your New Floor
Most homeowners spend weeks choosing a floor and almost no time thinking about what it sits on. That’s backwards. The subfloor decides whether your new floor performs the way the box promised, and in Enterprise it matters more than in most places because so many homes are built on concrete slab. A floor rated for decades of wear can still fail early when the surface beneath it flexes, holds moisture, or wasn’t prepped. The good news: subfloor problems are usually cheap and simple to catch before installation and painful to fix afterward. This guide explains the subfloor types common in Enterprise homes, how to spot trouble without special tools, and what proper prep actually involves.
Quick Answer
The subfloor is the structural surface beneath your finished floor. In Enterprise homes it’s usually a concrete slab, plywood or OSB over joists, or an existing tile layer left in place as a substrate. What type you have, and its condition, determines which flooring products can go down and whether prep work like leveling or a vapor barrier is needed.
Styles & brands we work with
- Hardwood
- Engineered hardwood
- Luxury vinyl plank
- Laminate
- Porcelain tile
- Carpet
- Shaw
- Mohawk
- COREtec
- Pergo
Table of Contents
- What a Subfloor Actually Does
- The Three Subfloor Types in Enterprise Homes
- How to Spot Deflection, Moisture, and High Spots Without Tools
- Why Slab-on-Grade Construction Creates Moisture Vapor Concerns
- What Subfloor Prep Really Means
- How Subfloor Condition Affects Warranty Validity
- Matching the Floor to the Subfloor
- Common Mistakes to Avoid
What a Subfloor Actually Does
The subfloor has three jobs, and every installation problem traces back to one of them. It carries the load your furniture, appliances, and footsteps put on the floor. It provides a flat, stable plane so the finished floor can sit evenly. And in homes on grade, it manages moisture moving up from the ground below. Understanding those three roles makes the rest of this guide make sense.
The subfloor is not the same as the underlayment. The subfloor is structural, attached to joists or poured as slab, and it holds the house together. Underlayment is the layer between the subfloor and the finished floor, whether that’s a foam pad under carpet, a membrane under tile, or a thin sheet product under laminate. Some flooring types need underlayment and some come with it attached. Others, like most tile, need a specific backer system. Mixing these up is one of the most common reasons a DIY installation goes wrong.
In Enterprise, we see all three of those jobs tested differently than in wetter climates. Slabs here are generally dry, which sounds like good news. But desert construction means expansive soils, intense summer heat cycling, and slabs poured quickly during building booms. Those conditions show up as cracks, high spots, and curl in wood-framed floors years after the home was built. When we look at a subfloor in Enterprise, we’re looking for settlement patterns, not flood damage.
Here’s the part most people miss: the subfloor is also the floor’s support system. A finished floor flexes if the subfloor flexes. Grout cracks if the subfloor moves. Planks separate at the seams if the subfloor isn’t flat. The floor itself is rarely the problem. The subfloor is almost always the cause. That’s why we treat the substrate check as the first step of every project, whether the job is carpet installation or something with a much less forgiving surface.
The Three Subfloor Types in Enterprise Homes
Nearly every home in Enterprise falls into one of three subfloor categories. Each one allows some flooring choices and rules out others. Knowing which you have before you shop saves a lot of backtracking.
Concrete slab
Slab-on-grade is the dominant construction type in Enterprise’s newer developments, and it’s common in older neighborhoods too. The finished floor goes directly over the concrete. Slabs are dimensionally stable, which is a real advantage in a desert climate, but they bring their own set of rules.
- What works: Carpet with a cushion, tile with a proper membrane, luxury vinyl plank, laminate with a moisture barrier, and engineered hardwood where the product allows it.
- What needs caution: Solid hardwood, which moves with humidity and generally shouldn’t go directly on slab. Existing slab cracks and high spots, which need prep before anything goes down.
- What we check first: Moisture vapor coming through the concrete, flatness across the room, and any crack wider than a hairline.
Plywood or OSB over joists
Wood-framed floors show up in second stories, some older single-story homes, and additions. The subfloor is nailed or screwed to joists, and its performance depends on the thickness of the panels, the spacing of the joists, and how well the panels were attached.
- What works: Nearly everything, with the right underlayment and prep.
- What needs caution: Deflection between joists, which shows up as a bounce or a slight dip in the middle of a room. Also watch for water damage from old plumbing leaks or roof issues.
- What we check first: Movement when you walk, soft spots, visible water staining, and whether the panel joints line up in a way that will telegraph through a thin floor.
Existing tile used as substrate
Sometimes the fastest path to a new floor is leaving the old tile in place and building on top of it. That works when the tile is well-bonded, flat, and the height change at doorways and thresholds is acceptable. It doesn’t work when tiles are loose or the grout lines are deep enough to show through a soft floor.
- What works: Carpet with a thick cushion, some luxury vinyl plank products, and tile-over-tile where the installer uses the right bonding system.
- What needs caution: Anything thin that will telegraph the grout pattern, and any tile that sounds hollow when tapped.
- What we check first: Bond integrity across the whole field, the height difference at transitions, and whether the existing layer is flat enough for the new product.
If you’re doing more than one room, the subfloor type can differ from room to room. A kitchen on slab, a hallway over joists, and a bathroom on tile are a normal mix in Enterprise. That’s one reason a single specialist for the whole home is easier than coordinating separate crews. Our tile flooring installation work often starts with a substrate check that overlaps into the next room.
How to Spot Deflection, Moisture, and High Spots Without Tools
You don’t need a moisture meter or a laser level to notice the three problems that matter most. Your feet, eyes, and a few common household items are enough for a first pass. What you’re doing is gathering information to bring to the estimate, not diagnosing the job yourself.
Check for deflection
- Walk slowly across the room, especially in the center, and notice any bounce or give.
- Stand in one spot and shift your weight from heel to toe. If the floor responds with a distinct flex, that’s a signal.
- Place a heavy object like a filled pitcher on the floor. Tap the floor near it. If the object visibly jiggles, the floor is moving more than it should.
- Look at existing floor seams and grout lines. Wide or repeating cracks often point to movement underneath.
Check for moisture
- Look for dark patches or efflorescence, a white powdery residue on concrete that suggests moisture moving through.
- Check for musty smells near exterior walls, especially in closets and under-stair areas.
- Tape a square of clear plastic to the slab for a day. Condensation under the plastic is a sign to investigate further. This is a rough indicator, not a measurement.
- Look for cupping in existing wood floors, where plank edges curl up. That’s moisture from below or from spills that never fully dried.
Check for high spots
- Lay a long straightedge or a level on the floor in several directions. A gap under the middle means a dip. Rocking means a high spot.
- Set a marble or small ball on the floor. If it rolls on its own, the floor has a slope or a high spot.
- Run your hand along the floor near transitions and doorways. Raised areas at thresholds are common and easy to miss.
None of this replaces a proper substrate check at the estimate, but it gives you a clearer picture of what the job involves. In our experience, homeowners who do this quick pass before the estimate ask better questions and make faster decisions. If you’re also weighing carpet installation somewhere else in the home, the same checks apply: carpet is more forgiving of small imperfections, but not of moisture.
Why Slab-on-Grade Construction Creates Moisture Vapor Concerns
Enterprise is desert country, and that leads to a false sense of security. “It’s dry here, we don’t have moisture problems.” That’s true for visible water and mostly false for moisture vapor. Concrete is porous. Water in the soil beneath a slab moves upward through the concrete as vapor, slowly and invisibly, regardless of how dry the air feels. This is called moisture vapor transmission, and it’s a real factor in slab-on-grade homes.
Why does it matter? Some flooring products are sensitive to moisture from below. Solid hardwood can cup and crown. Laminate cores can swell. Adhesives can break down. Even water-resistant products like luxury vinyl plank can trap moisture between the plank and the slab, and that trapped moisture has nowhere to go but into the edges of the room and the baseboards. A floor that is water-resistant on top isn’t a waterproof barrier from below. Standing water and moisture from underneath still have to be dealt with, and that’s a prep conversation, not a product conversation.
In Enterprise, the risk profile is different from a coastal city but not absent. Homes built during rapid construction periods sometimes have less-than-ideal slab detailing. Expansive soils in the valley can shift with seasonal moisture, opening hairline cracks in the slab that become vapor paths. Homes with landscaping irrigation running close to the foundation can push moisture toward the slab edge. And a home that sat vacant during the summer with the AC off can accumulate moisture in ways that only show up when flooring gets pulled up.
An Enterprise flooring specialist should always raise the vapor question on slab-on-grade jobs. It’s not a scare tactic. It’s a standard prep step. The product instructions and the written estimate set what the job requires, and that’s where the answer belongs, not in a sales pitch.
What Subfloor Prep Really Means
Subfloor prep is the work done between “old floor removed” and “new floor started.” It’s the least glamorous part of the job and the one that gets skipped when someone is cutting corners. Prep is what makes the difference between a floor that lasts and one that has problems a year in. Here’s what it actually involves.
Cleaning and inspection
The first step is removing everything loose, checking for damage, and confirming the substrate is structurally sound. Soft spots, crumbling concrete, and loose plywood panels get addressed here. This is also where we identify anything that changes the plan: a slab crack that needs attention, a joist that’s not where it should be, an old floor that won’t come up cleanly.
Leveling
Leveling compounds, sometimes called floor patch or self-leveling underlayment, fill dips and low spots so the finished floor sits on a flat plane. How much leveling is needed depends on the product. Carpet tolerates more variation than tile. Tile requires a flatter surface than laminate. A good installer uses a straightedge to map the floor before deciding how much leveling compound to use, rather than eyeballing it. That map is what keeps the job predictable.
Vapor barriers
On slab-on-grade floors, a vapor barrier or moisture-resistant underlayment goes between the concrete and the finished floor. It’s a thin sheet or membrane that slows moisture vapor from moving into the flooring. Not every product requires one, and the right choice depends on the product and the slab. What matters is that the barrier is installed correctly, lapped at the seams, and carried up the walls slightly rather than stopping at the floor line. A barrier that’s installed sloppily does very little.
Bond testing
If the new floor is going to be glued or bonded to the substrate, the installer tests whether the bond will hold. On concrete, that means checking that the surface is sound, clean, and free of curing compounds or sealers that would prevent adhesion. On existing tile, that means confirming the tile is well-bonded before building on top of it. A bond test is quick and it prevents a failure that would be much harder to fix later. It’s also one of the steps most often skipped when a job is priced low.
We’d rather spend the time on prep than on a callback. The prep is also where our product knowledge pays off: a Shaw or Mohawk carpet behaves differently over a slab than a COREtec plank does, and the prep has to match the floor. For a broader view of how we approach installations across all three flooring categories, see Floors Enterprise.
How Subfloor Condition Affects Warranty Validity
Manufacturer warranties on flooring products generally cover defects in the product itself. They generally don’t cover failures caused by the substrate. That’s not fine print buried at the bottom of a spec sheet. It’s a core exclusion, and it’s in the warranty documentation for every major brand. The practical effect: if a floor fails because the subfloor wasn’t flat, wasn’t dry, or wasn’t prepped correctly, the manufacturer can point to the installation and the substrate, and the warranty may not apply.
The liability then shifts to whoever approved the substrate. That’s the installer. But it’s also the homeowner who signed off on the estimate. This is why the estimate visit matters more than the product selection. The estimate is where the substrate gets evaluated and the plan gets written down. If the estimate doesn’t mention subfloor prep, that’s worth asking about.
What you can do to protect yourself:
- Ask what the estimate includes for prep. Leveling, vapor barrier, and bond testing should be named if they’re needed, not left to chance.
- Get the substrate plan in writing. The written estimate should describe the existing subfloor, the prep required, and the product going down.
- Don’t approve work you don’t understand. If a term like “self-leveling underlayment” or “vapor retarder” isn’t clear, ask. A good installer explains it plainly.
- Keep the paperwork. Warranty claims require proof of proper installation, and the estimate and invoice are that proof.
- Ask about exclusions before the floor is installed. Once the floor is down, the conversation is about repair, not prevention.
We don’t make warranty promises. What we do is treat the estimate as the place where the substrate is documented, so there’s no confusion later about what was approved. That’s a small step that protects both sides.
Matching the Floor to the Subfloor and How You Live
Product selection is the fun part, but the subfloor sets the boundaries. A floor that’s beautiful in the showroom can be the wrong choice for a slab with moisture vapor, or for a second story with deflection. The right approach is to start from the substrate and the household, then choose the product.
Here’s how the three main flooring categories map to subfloor conditions:
- Carpet: The most forgiving of minor floor imperfections. Works over slab, plywood, and existing tile with the right cushion. For families and pet owners, carpet in bedrooms and hallways is often the practical choice. Carpet installation still needs a dry substrate, so moisture gets checked first.
- Tile: The least forgiving of substrate variation. Needs a flat, sound surface and a proper membrane over concrete or wood. Great for bathrooms, kitchens, and entryways where water is part of daily life. Our tile flooring installation work starts with a substrate check because tile is the product most sensitive to what’s underneath.
- Hardwood: Engineered hardwood works over properly prepped slab and over joist floors. Solid hardwood prefers a wood subfloor. Hardwood refinishing is a separate consideration: before choosing to refinish, we check the thickness of the wood and the condition of the floor to see whether it can be sanded and re-coated, or whether the wiser move is replacement. Restoring an existing floor is often the smarter choice economically and environmentally.
For families with pets or kids, water-resistant luxury vinyl plank from brands like COREtec and LifeProof is a common fit over a prepped slab. Those products are water-resistant on the surface, and they still need the moisture question answered below. We install and service whatever floor you choose, and our role is to match the product to the substrate and to the way the household actually lives, not to push a particular brand.
Common Mistakes to Avoid
- Choosing the floor before checking the subfloor. This is the one that costs the most. Once the product is purchased and on site, the substrate conversation becomes a negotiation instead of a decision.
- Skipping the moisture question on slab. Desert climates feel dry, but concrete still moves vapor. A quick plastic-sheet test at home and a proper check at the estimate catch most of this.
- Assuming “water-resistant” means water-blocking. LVP like COREtec and LifeProof resists surface water, but standing water and moisture from below still have to be addressed with prep. The product isn’t a vapor barrier.
- Hiring on square-foot price alone. A low price often means prep steps were cut. Leveling, vapor barriers, and bond testing are the costs that separate a lasting floor from a callback.
- Building over tile without checking the bond. Existing tile as a substrate works only if the tile is soundly attached. Hollow-sounding tile means starting over, not building on top.
- Ignoring deflection on second stories. In Enterprise homes with wood-framed upper floors, bouncy floors telegraph into thin products. Listen for the bounce and mention it at the estimate.
- Not documenting the substrate plan. If the written estimate doesn’t describe the subfloor and the prep, you have no record of what was approved. That matters if warranty questions ever come up.
See the difference
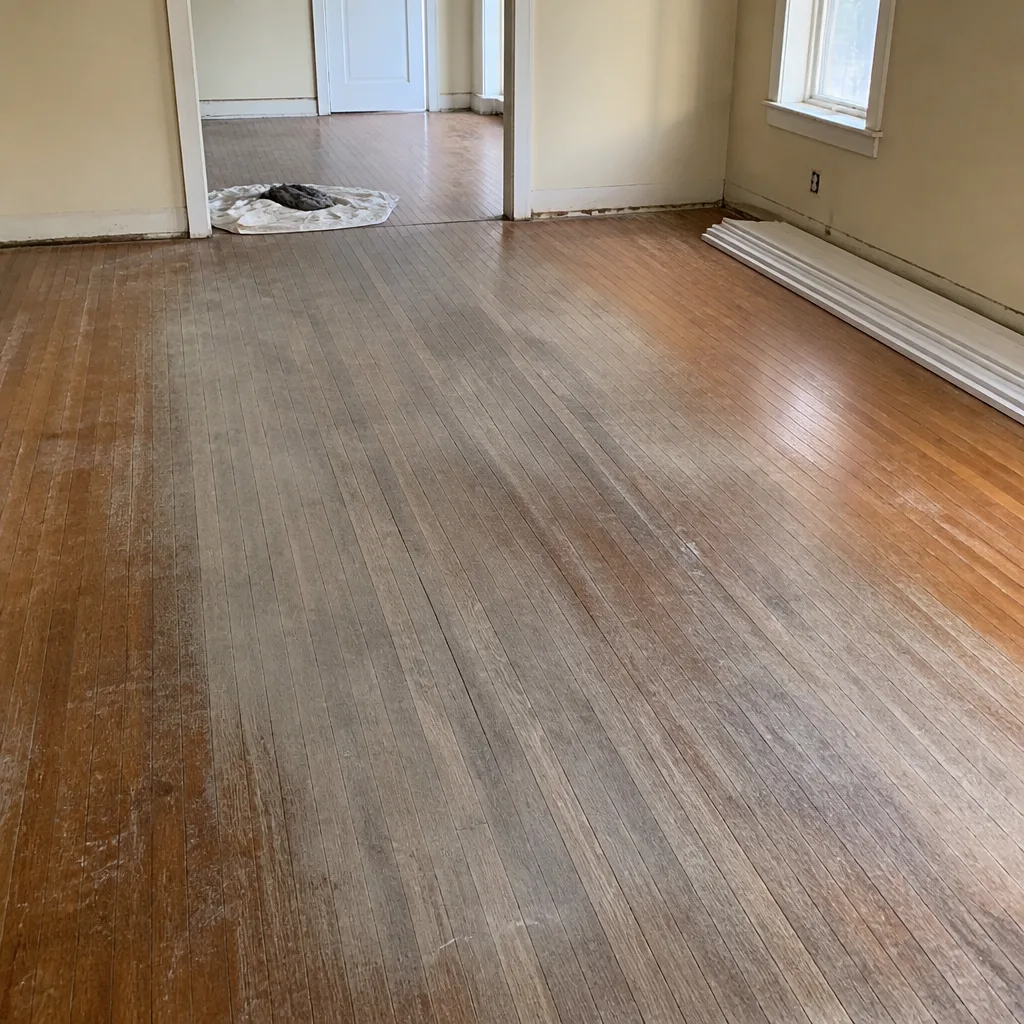 Before
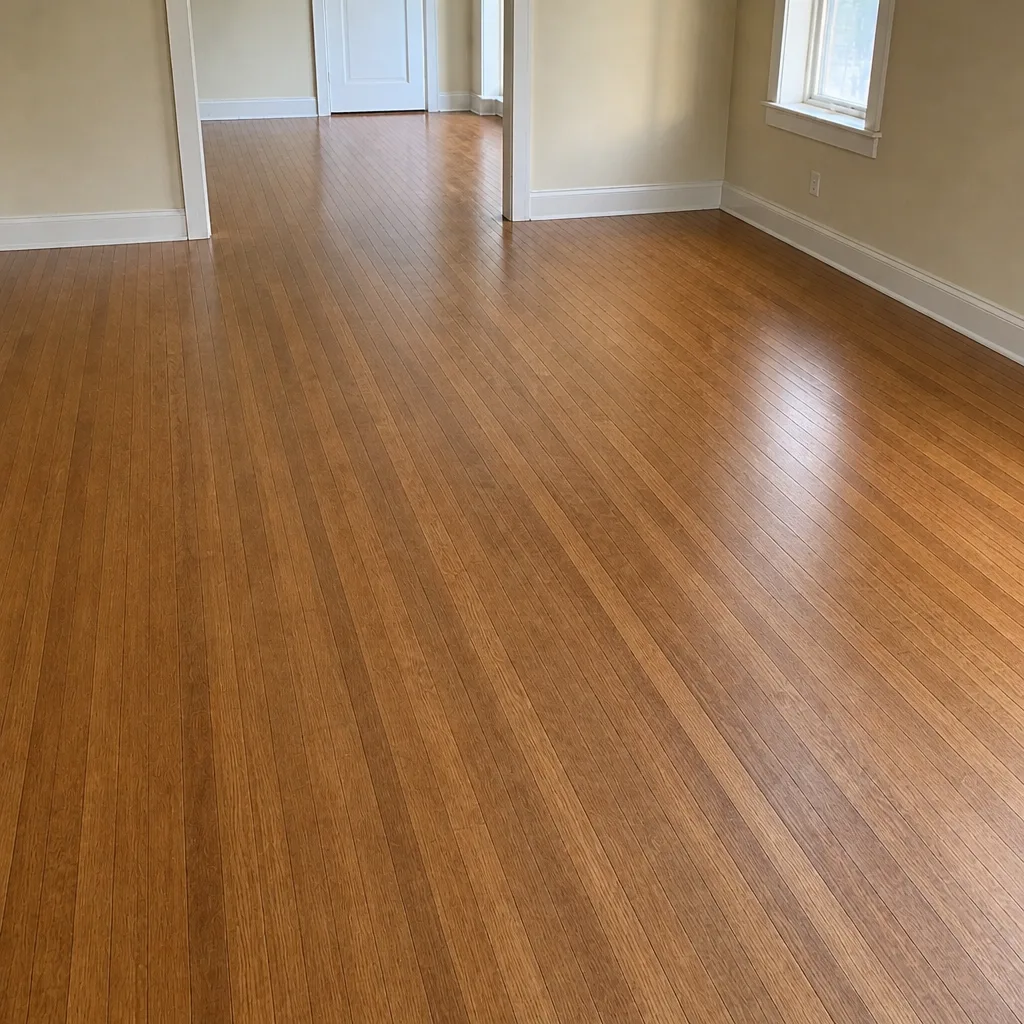 After
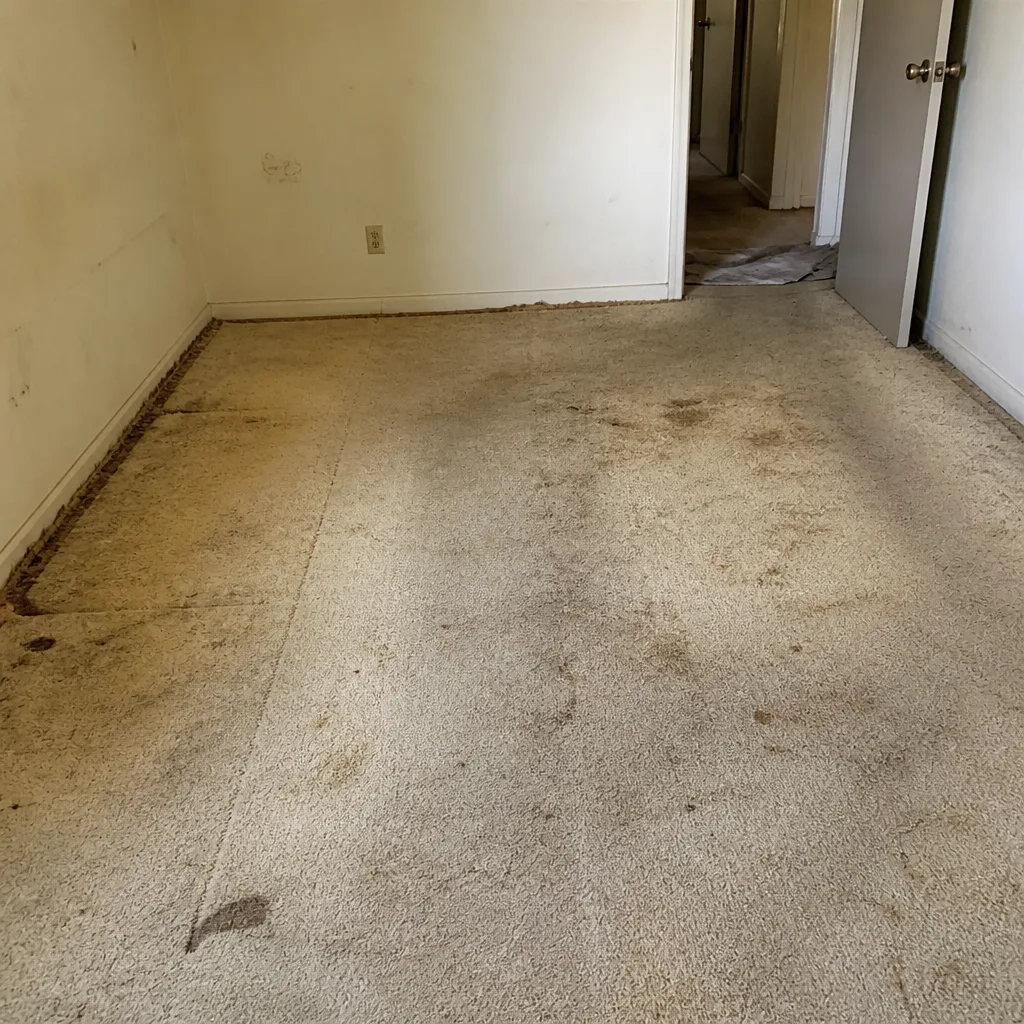 Before
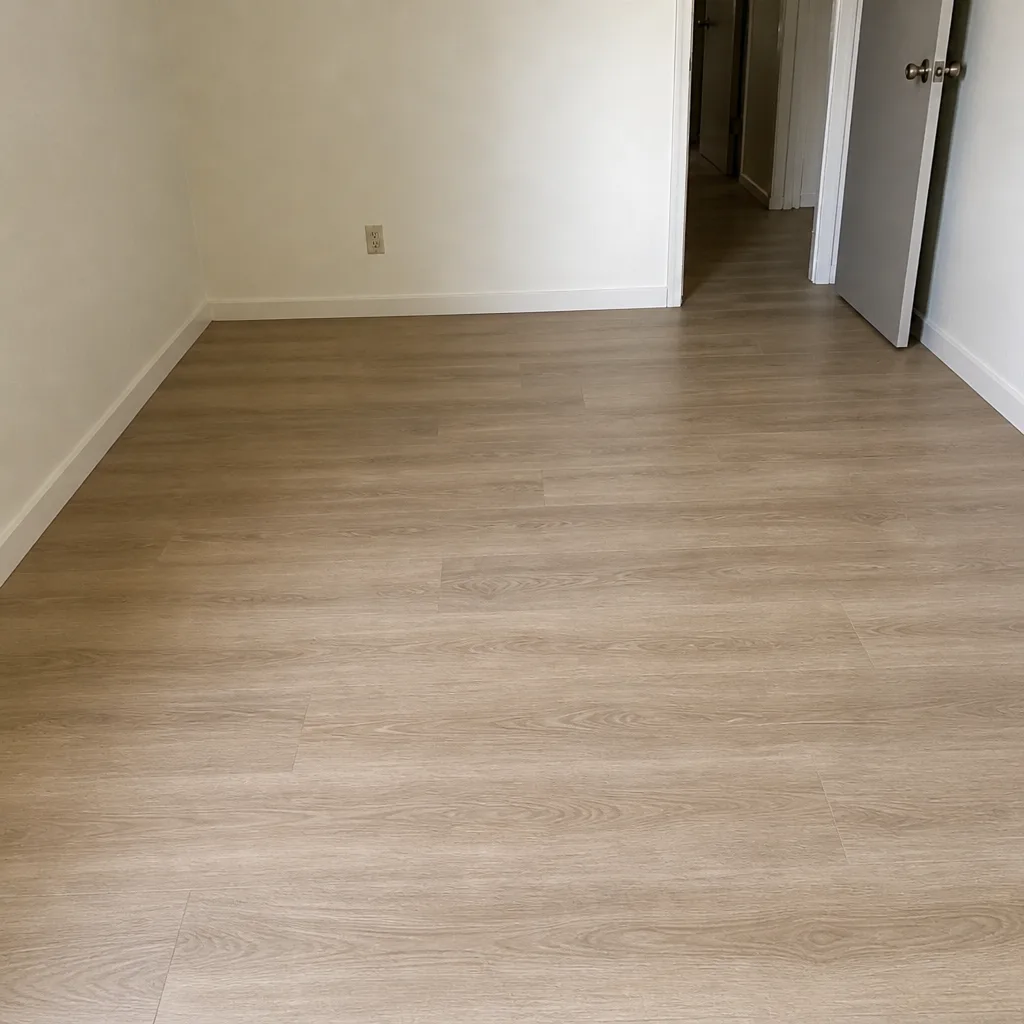 After
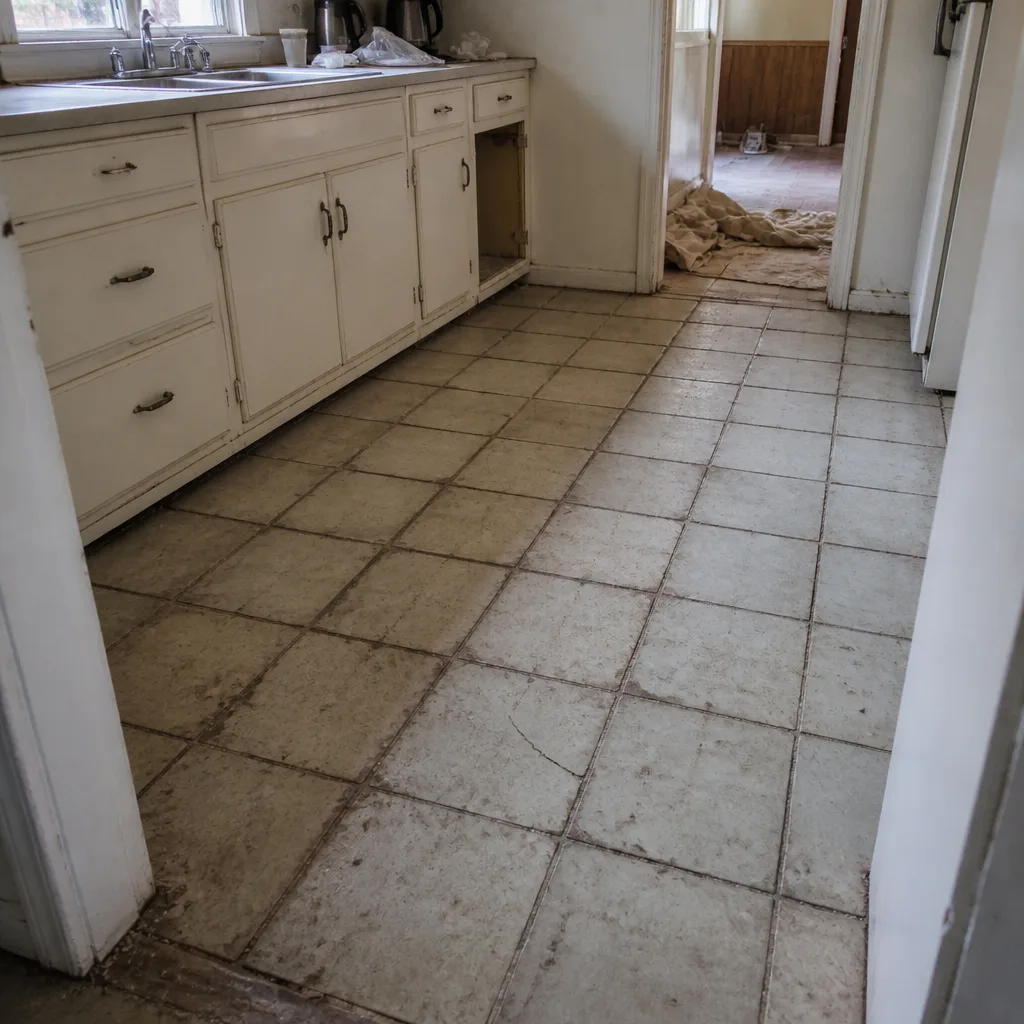 Before
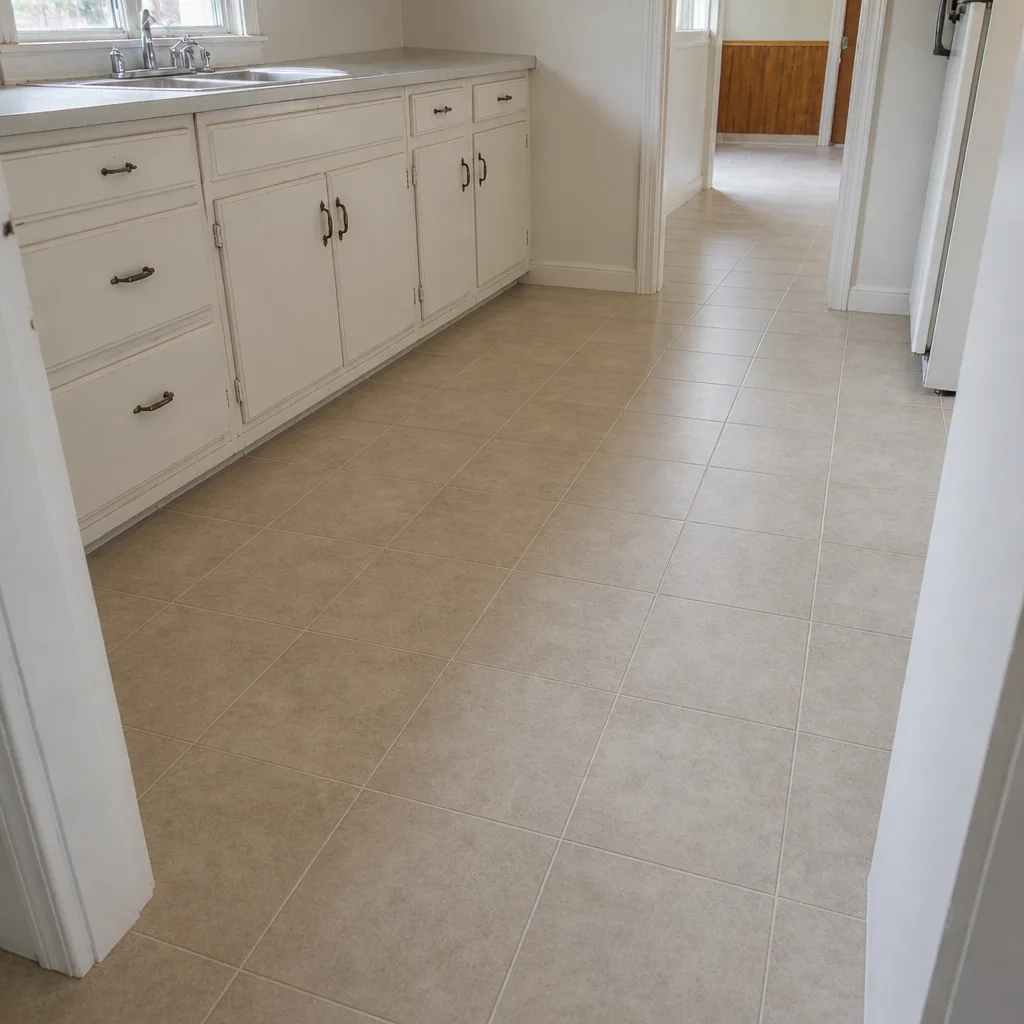 After
When to Call a Professional
Subfloor evaluation and prep are the parts of a flooring project where a trained eye makes a real difference. Call a professional if you’re seeing a soft spot, a bounce in a wood-framed floor, moisture staining or a musty smell near an exterior wall, loose or hollow-sounding tile, or a slab crack wider than a hairline. Call if the floor has visible high spots or dips, or if you’re planning tile over a substrate you haven’t had evaluated. Call before you buy the floor, not after. The estimate visit is where the substrate gets assessed, the prep gets specified, and the product gets matched to both. Floors Enterprise offers free estimates in Enterprise – call (844) 320-5894 to schedule yours. We answer 24/7. Fast dispatch from 7am to 7pm, Sunday through Friday.
If you’re planning a whole-home project, it’s worth knowing we cover the full range: carpet, tile, and hardwood refinishing, from one specialist rather than three contractors. Details are on the Enterprise page.
Frequently Asked Questions
A subfloor is the structural layer beneath your finished floor, typically concrete slab or plywood over joists. It matters because it controls whether the finished floor stays flat, stable, and dry. When the subfloor is wrong, the floor above it fails regardless of product quality. Call (844) 320-5894 for a free estimate that includes a substrate check.
Most Enterprise homes are slab-on-grade, which means the finished floor sits directly on concrete. You can usually tell by checking what’s visible at a floor vent, doorway, or under-carpet edge. Second stories and some additions are plywood over joists. Existing tile is sometimes left in place as a substrate in remodels. If you’re unsure, the estimate visit is the right place to confirm.
Yes, sometimes, if the tile is well-bonded and flat enough for the new product. Carpet with the right cushion and some luxury vinyl products can go over tile. Thin products that telegraph the grout lines, and any tile that sounds hollow, are not good candidates. A bond test at the estimate answers the question. Call (844) 320-5894 to schedule one.
Yes. Manufacturer warranties typically exclude failures caused by the substrate rather than the product, which shifts liability to whoever approved the substrate. Getting the substrate plan in writing at the estimate is the best way to protect yourself. The written estimate sets what’s included, so ask about it before the floor goes down.
Tape a square of clear plastic to the slab for a day and look for condensation underneath. That’s a rough indicator, not a measurement. Visible efflorescence, dark patches, and musty smells near exterior walls are also signs. A proper moisture check belongs in the estimate visit, where the right product decision can be made. Call (844) 320-5894 for a free estimate.
We install carpet, tile, and hardwood refinishing, and each works over different subfloor conditions. The substrate is assessed first, then the product is matched to it. Brands like Shaw and Mohawk for carpet, and COREtec for water-resistant plank, are all part of the portfolio we work with. Call (844) 320-5894 to talk through your specific rooms and subfloor.
The Bottom Line
The subfloor is the foundation of every flooring decision, and in Enterprise, where slab-on-grade construction is the norm, it’s the variable most often overlooked. Three subfloor types cover nearly every home: concrete slab, plywood over joists, and existing tile as substrate. Each one allows some products and rules out others, and each one has its own prep requirements around leveling, vapor barriers, and bond testing. The prep decides whether the floor performs. Product warranties generally exclude substrate-related failures, which makes the written estimate the most important document in the project. Choose the floor after you understand the subfloor, not before. Floors Enterprise offers free estimates in Enterprise – call (844) 320-5894 to schedule yours and get the substrate conversation handled correctly the first time.
Written by the team at Floors Enterprise.